Project details
Skill
成本
Estimated Time
内森·吉尔伯特(Nathan Gilbert)helps a homeowner with upgrading their kitchen cabinet hardware. While the cabinets themselves are nice, the homeowner dislikes the lack of hardware. Nathan shows the homeowner several jig options before explaining how they’ll tackle the job. With a drill and a few jigs in hand, the two set to work installing hardware and giving those kitchen cabinets a serious facelift.
Builder-grade cabinets are a great option for folks looking to install affordable cabinets without long lead times. However, they often come without hardware and look quite basic. Carpenter Nathan Gilbert shows a homeowner how to upgrade his basic cabinets by installing hardware with a few basic tools and techniques.
构建自定义硬件夹具
When it comes to door hardware, it makes sense to build a custom jig. Here’s a quick guide:
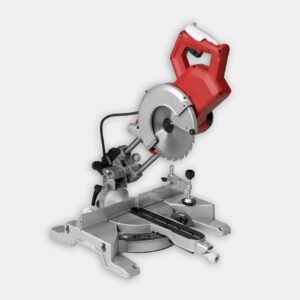
- Set the miter saw to 45 degrees and lock it in place. Do not do this with the saw’s bevel function.
- 将1×2的股票放在锯子上,并切成约8英寸长的一块。完成后,该作品应具有一个斜切端和一个平坦的端。该股票还将有斜切的末端。
- Swing the saw’s miter angle back to 90 degrees and lock it in place. With the mitered end of the stock approximately 2 inches past the saw blade, cut off the mitered end of the stock.
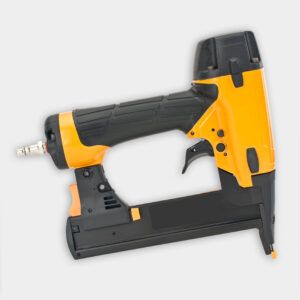
- Glue the two mitered surfaces together and clamp or nail them with a brad nailer. They should form an L.
- Measure from the inside of the L to the end of the longer side and cut a piece of stock to this length.
- Place this piece in the L, making sure that it’s on its side (the thinner edge of the board). Glue and fasten this piece in place to create the jig.
How to Install Cabinet Hardware
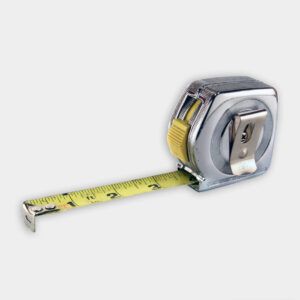
- Cabinet hardware must be consistently spaced and even, so it’s best to use a jig rather than measuring and marking every time. Use the custom jig described above for the doors, and use a purchased jig for the drawer fronts.
- 在此时,找到轨道(水平门成员)和阶梯(垂直成员)相遇的点,并在此时转移一条线。接下来,测量楼梯的宽度,将其分为一半,并在此时在机柜上放置一个标记。与两个标记相交,以找到机柜硬件的最低孔。
- 测量机柜硬件背面的安装孔之间的距离。小心地测量与底孔标记的距离,并添加额外的标记。在这一点上标记阶梯宽度的一半,并与这两个标记相交。
- 使用钻头和适当尺寸的钻头,在这些标记处直接钻孔,直角孔。确保不要将手放在钻孔的位置。检查以确保硬件适合。接下来,将自定义夹具放在机柜门后面,然后将其按在拐角处。将钻头放在现有孔中,并轻轻得分夹具。卸下夹具并钻孔以创建孔间距。
- 打开每个橱柜门,然后将夹具放在他们的拐角处。使用钻头和钻头对机柜门进行评分,卸下夹具,然后在门上完全钻孔。确保不要将手放在钻孔的位置。根据需要翻转左右门的夹具,或者在顶部或底部带有手柄的门。
- Attach the cabinet pulls by feeding the screws through the back of the cabinet door, lining up the pulls, and tightening the screws.
- For drawers, measure the screw holes on the hardware and set the adjustable guides to that distance. Next, measure and mark each drawer front at its exact middle. Place the jig over the drawer front and align the sight hole with this mark.
- 将钻头放在夹具中,并在每个螺钉位置轻轻评分抽屉正面的正面。卸下夹具,然后通过抽屉正面和背后的抽屉盒钻孔。
- Use the longer screws that came with the drawer pulls. Place them through the back of the drawer back until they stick out from the front of the drawer front. Align the drawer pull and tighten the screws.
资源
对于机柜的门和抽屉,内森都安装了Brightened Opulence Matte Black Drawer Pullsin two sizes, which are manufactured by自由硬件。硬件带有安装螺钉,尽管内森选择在抽屉脸上使用更长的螺钉,因为它们比橱柜门厚。
Nathan highly recommends using a jig to keep the hardware lined up consistently for any cabinet hardware installation. He mentioned the机柜硬件夹具原始,由真正的位置工具。对于实际的安装项目,他结合了KHI-PULL Cabinet Hardware Jig, which is made byKreg Tools, 和a DIY jig that Nathan made out ofscrap, 1-by plywood,wood glue, 和完成指甲,这些都是可以在家庭中心找到的材料。HomeHome
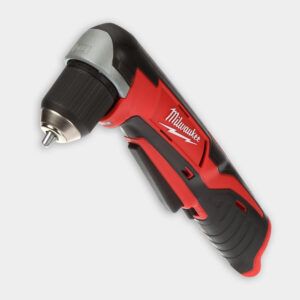
To drill the holes in the cabinet doors and drawers, Nathan used aFestoolCordless Drill CSX, 和to tighten the hardware screws, he used a20V最大锂离子3/8英寸直角钻驱动器manufactured by德瓦特。
Materials
- 硬件夹具
- 木胶(用于自定义夹具)
- Scrap wood for custom jig(1×2 stock)
- 完成指甲
- Hardware