Project details
技能
成本
预计时间
汤姆(Tom)对学习在高中建造家具的学习有美好的回忆,最近他出现了他最喜欢的项目之一:一张小桃花心木halfround桌子。被称为“半月份”的frenune,这种经典的节省太空设计可以追溯到18世纪,当时它是狭窄的大厅和入口的重音作品,当时它变得流行。
Create a Template
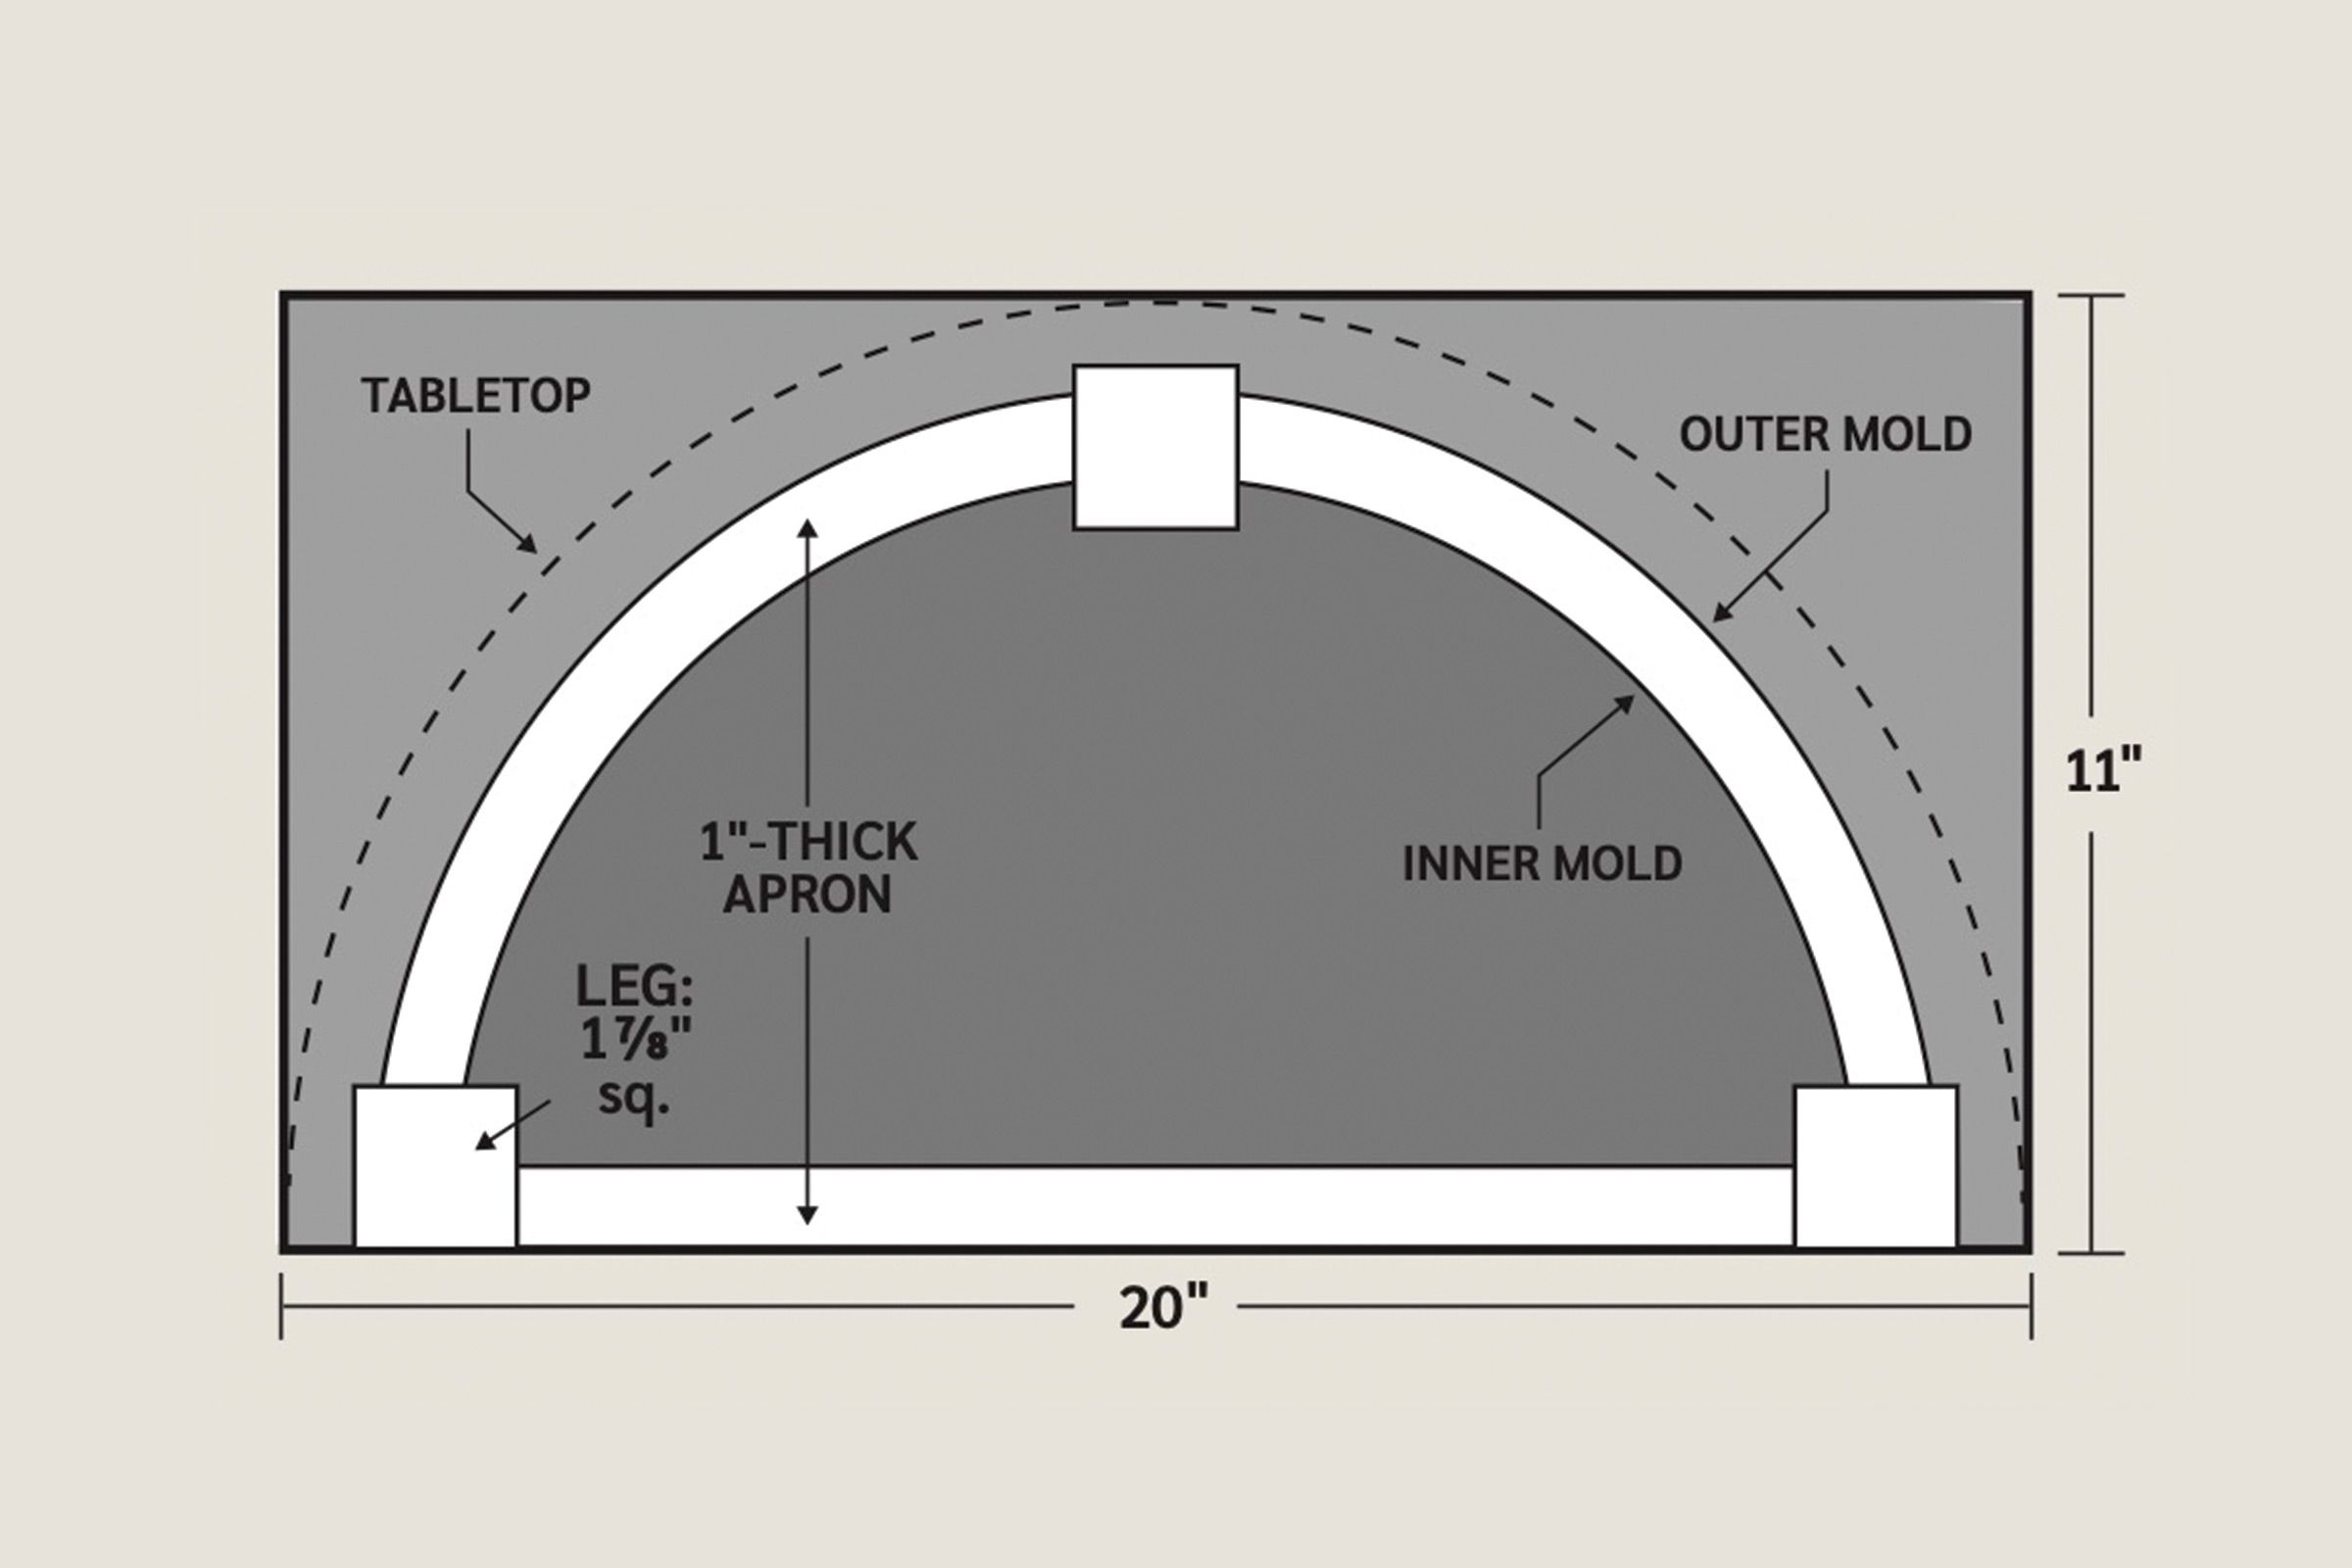
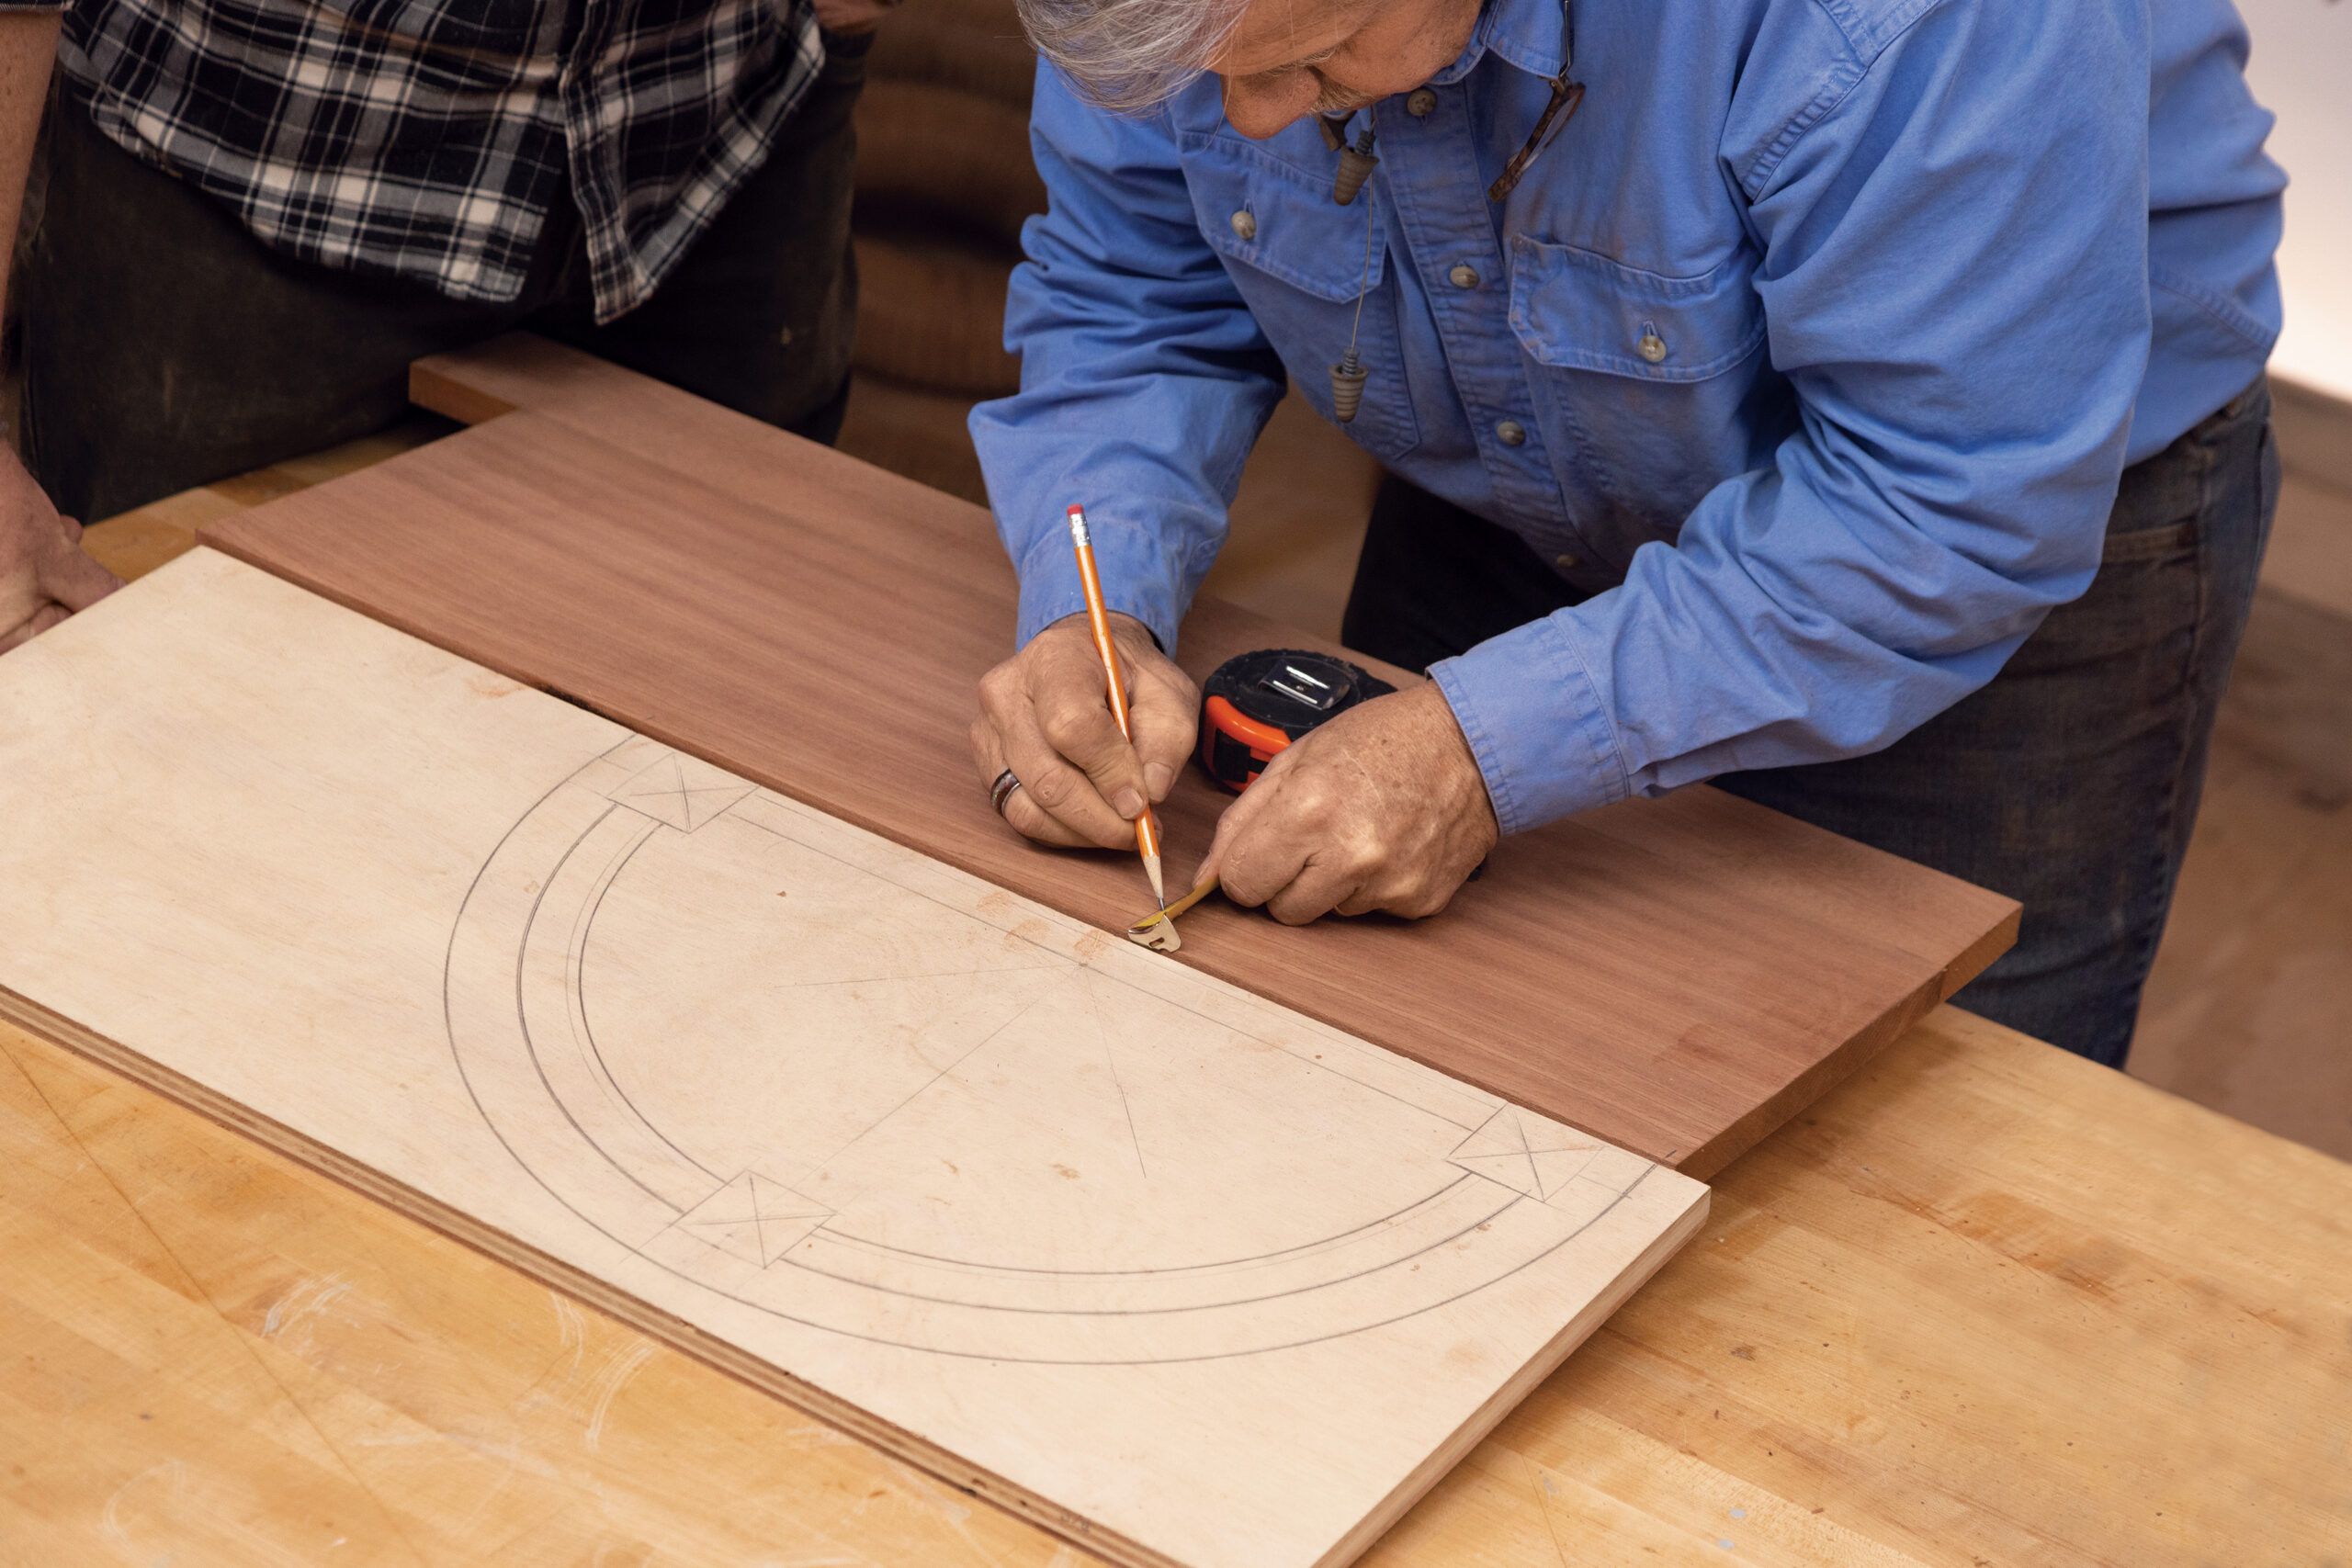
A full-size template gives you a reference for the details of the apron and top. Use a large compass to draw their curves and mark the location of the legs. The apron’s inner and outer radii represent the halves of the bending form.
建筑物提供了一个绝佳的机会,可以制定一个结合三个锥形腿和一个层压的弯曲围裙的项目。与他的许多家具项目一样,汤姆首先要在胶合板上画一个完整的模板,以铺设桌面的确切尺寸和形状,以及腿部和围裙碎片的位置,并将所有东西绑在一起。当汤姆开始为新月形围裙涂抹弧线时,凯文问:“那么它会从一个大街区中出来吗?”
Though it would involve a bit more work and a custom bending form (see Step 1, opposite), Tom said he would instead rip, glue, and clamp together thin, flexible strips to make the table’s laminated, curved apron—making it even stronger than if he’d cut the apron from a single piece of mahogany, as some 18thcentury furniture makers might have done. Creating the necessary bending form and waiting for the glued-up laminations to dry adds a bit of complexity and time to this project, but the showpiece result is worth the wait. As Kevin proclaimed, “C’est magnifique!”
如何构建除非桌子
剪切列表:
(Tom used mahogany, but any hardwood will work.)
- Legs: three @ 1 7/8 by 1 7/8 by 30 3/4 inches
- Strips for laminated, curved apron: ten @ 1/8 by 3 by 36 inches (The project calls for only eight strips, but it is good to have extra on hand.)
- 后围裙件:1 @ 1 x 2 1/2 x 14 3/4英寸
- 桌面:一个粘合的空白 @ 3/4 x 12 x 24英寸
- 弯曲形式:4块MDF @ 3/4 x 14 x 26英寸

Step 1: Build the two-part bending form
Using the plywood template (see Tip, below), scribe the two arcs for the apron on four 14-by-26-inch pieces of MDF. Cut along the lines with a jigsaw or band saw. Apply glue and stack the pieces, fastening each layer with several screws as you go. Once the glue is dry, use a rasp or sandpaper to smooth the curved edges. To keep the apron from sticking, apply polyurethane to the mold’s curves, followed by a coat of paste wax.
步骤2:粘在围裙
除了第一个层压板以外,所有均匀的胶水均匀地铺开了慢速胶水。一次一个,将条带入弯曲形式的外半部,并用12英寸的扳机夹将它们宽松地将其固定,直到所有这些扳机都放在原位为止。
Step 3: Clamp it tight to dry
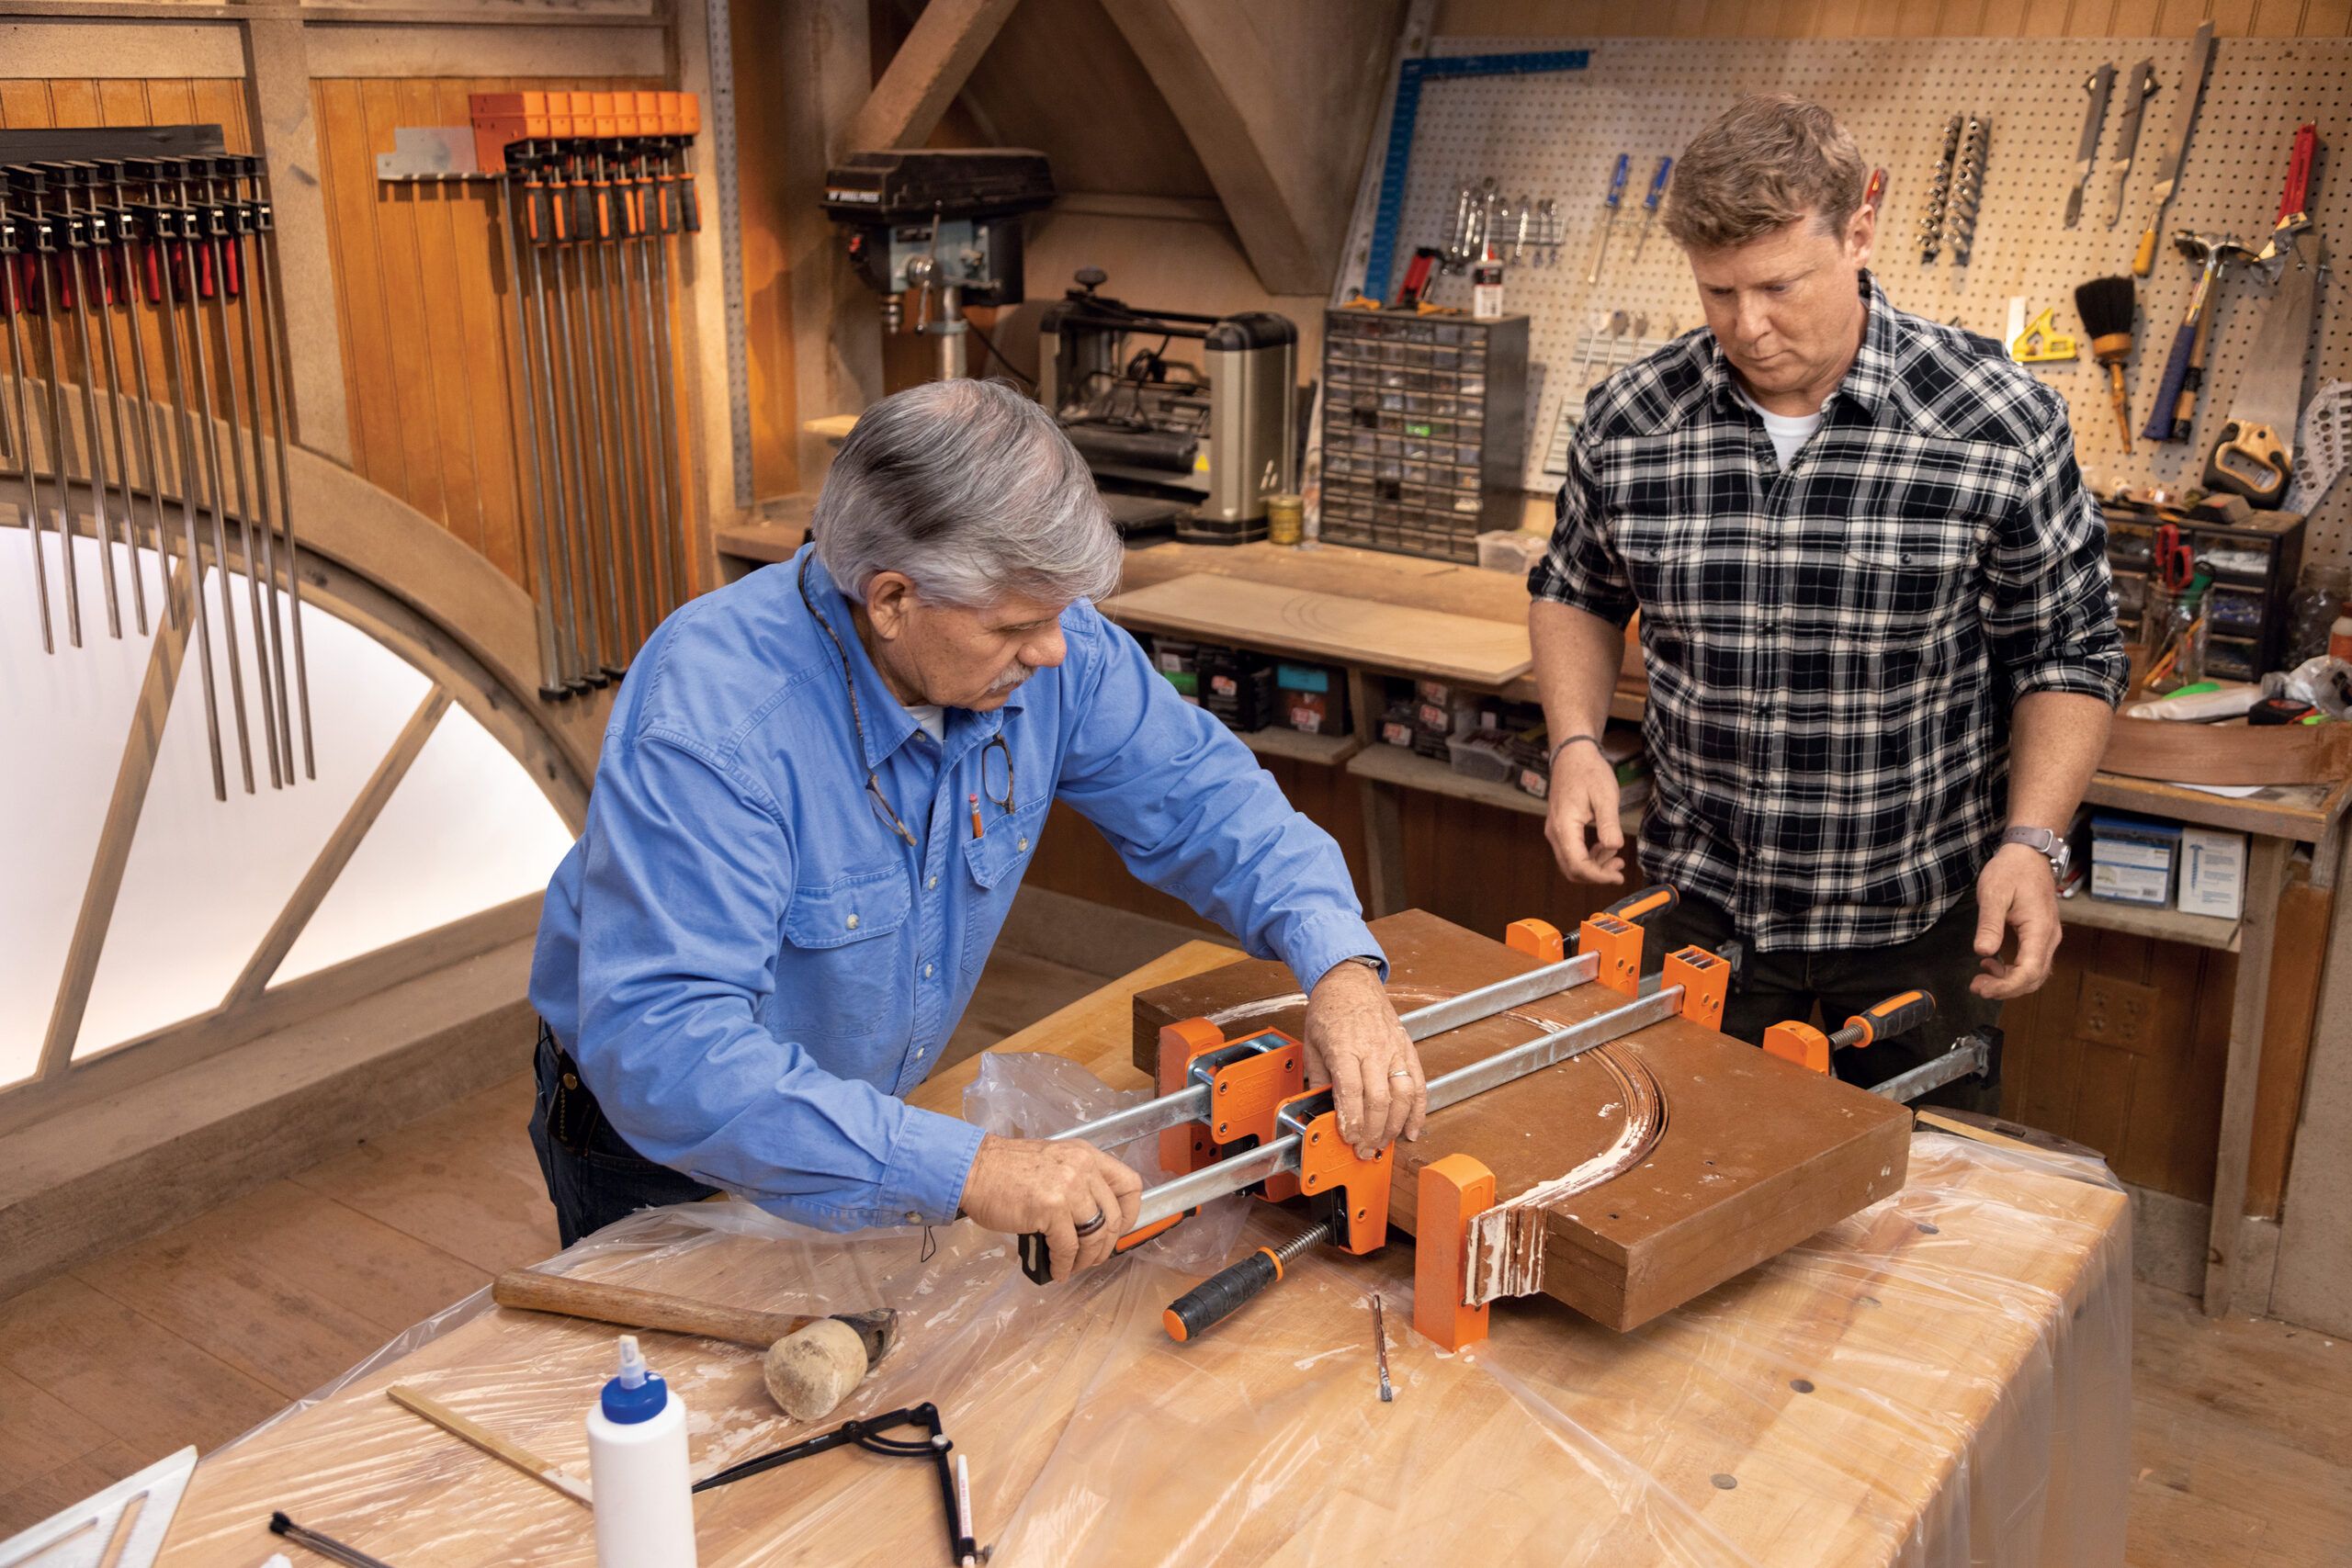
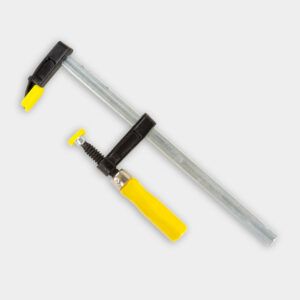
Place the bar clamps across the form and tighten them, tapping down the strips with a mallet to align them, until the form is pulled together and there are no gaps between any of the strips. Wipe away excess glue, and set the form aside overnight to allow the glue to fully cure.
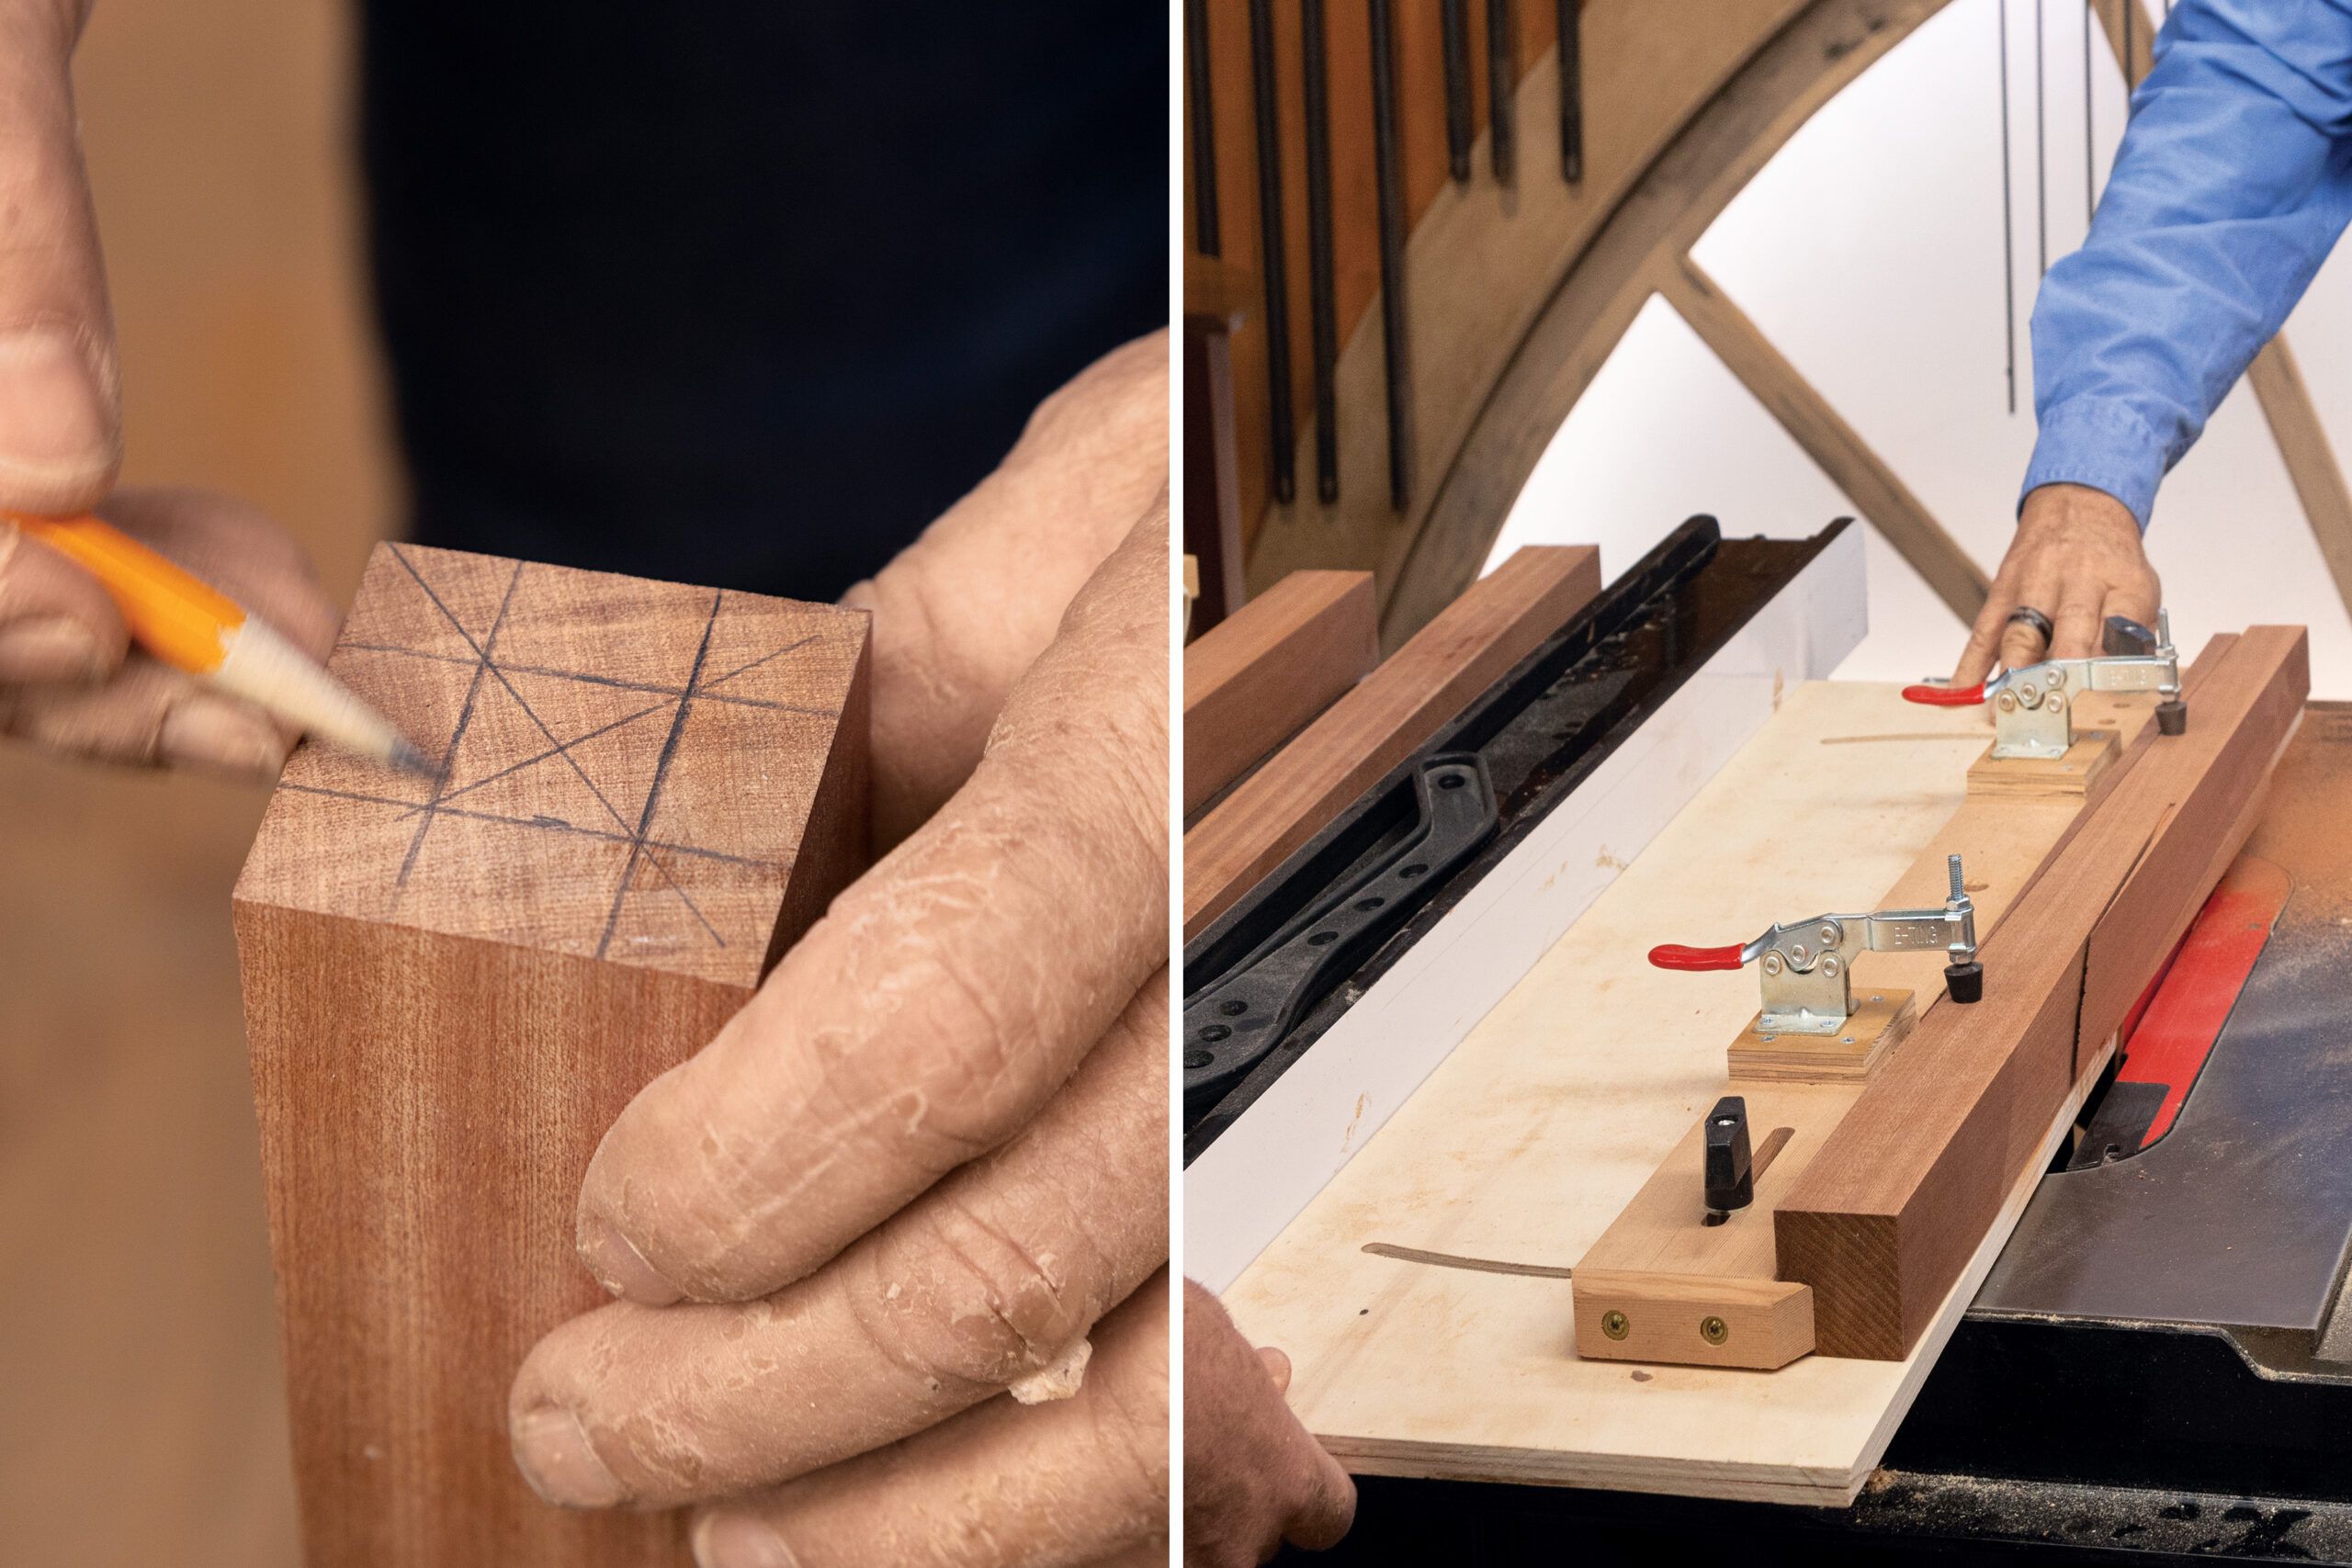
Step 4: Mark the tapers on the legs
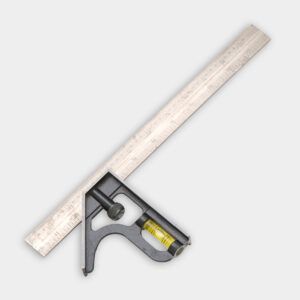
使用组合正方形进行中心,并在每条腿的底部中心标记一个3/4英寸的正方形。从顶部4英寸的腿上画一条线;然后从顶线绘制一条线,到底部的标记,以指示每一侧的锥度。
步骤5:切锥
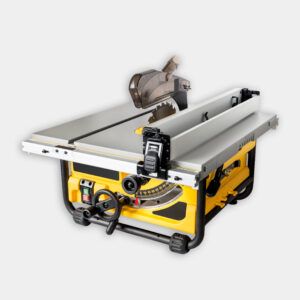
使用标记对齐锥形夹具中的第一条腿,因此桌子锯片将在顶部标记处进入腿并在底部退出。将腿夹在夹具中,然后撕裂第一个锥度。将腿翻转到旁边,并将第一个切割中的废物片用作垫片将其保持正方形(如图所示);撕裂下一个锥度。重复,直到每条腿上都撕开了所有四个龙头为止。
Step 6: Lay out the tabletop
Align the template with the underside of the tabletop, and transfer the outer radius marks. Use the combination square to draw a 1-inch line perpendicular to the edge at each mark. Transfer the center point from the template to the top, 1 inch from the front edge, to locate the pivot point for the circle-cutting router jig.
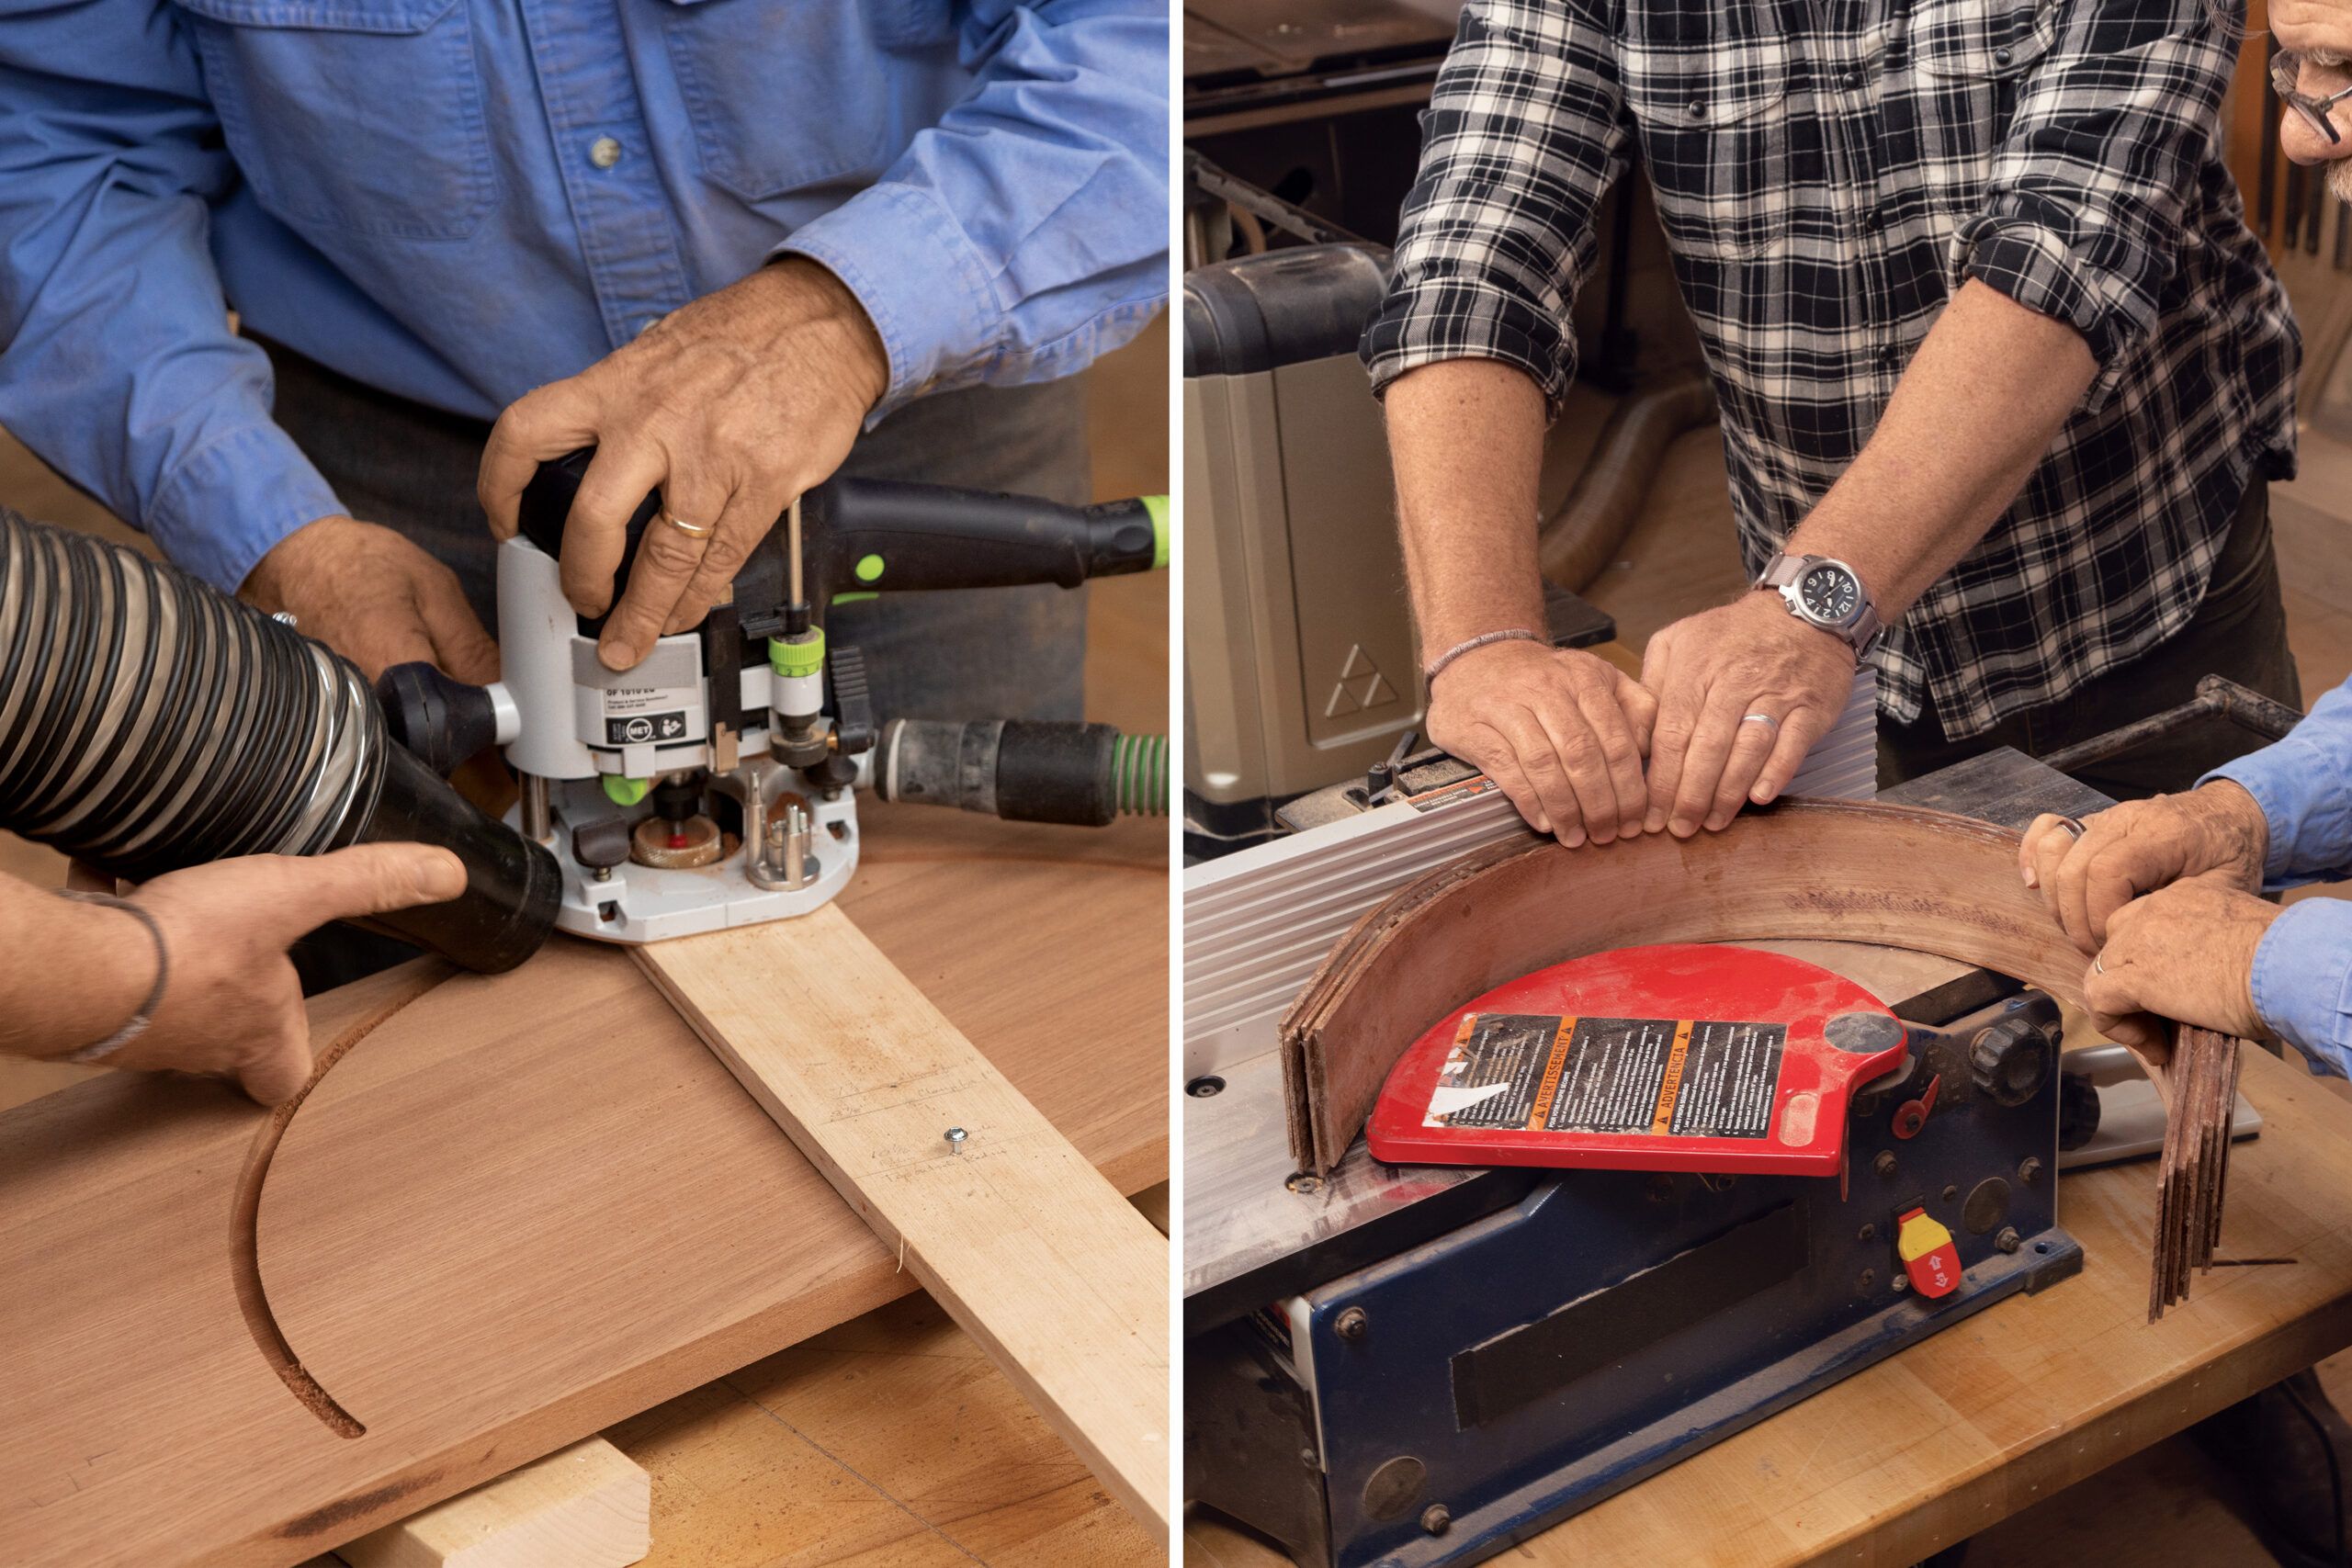
Step 7: Cut the tabletop
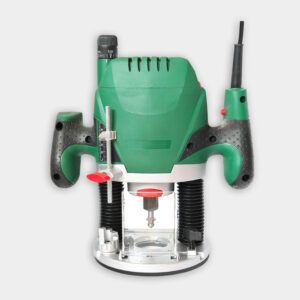
Set the router bit to cut 1/4 inch deep, then gently plunge the router into the piece just inside the far-right corner; slowly swing the router jig counterclockwise until you are just shy of the far-left corner. Repeat the cut, setting the router 1/8 inch deeper for each pass until you have cut all the way through the board. Use a handsaw to cut the waste piece free.
步骤8:清理围裙
从模具中取下围裙,并使用联接器(如图)或手部平面扁平围裙的一个边缘。通过刨床或使用手机将其喂入21/2英寸的宽度。
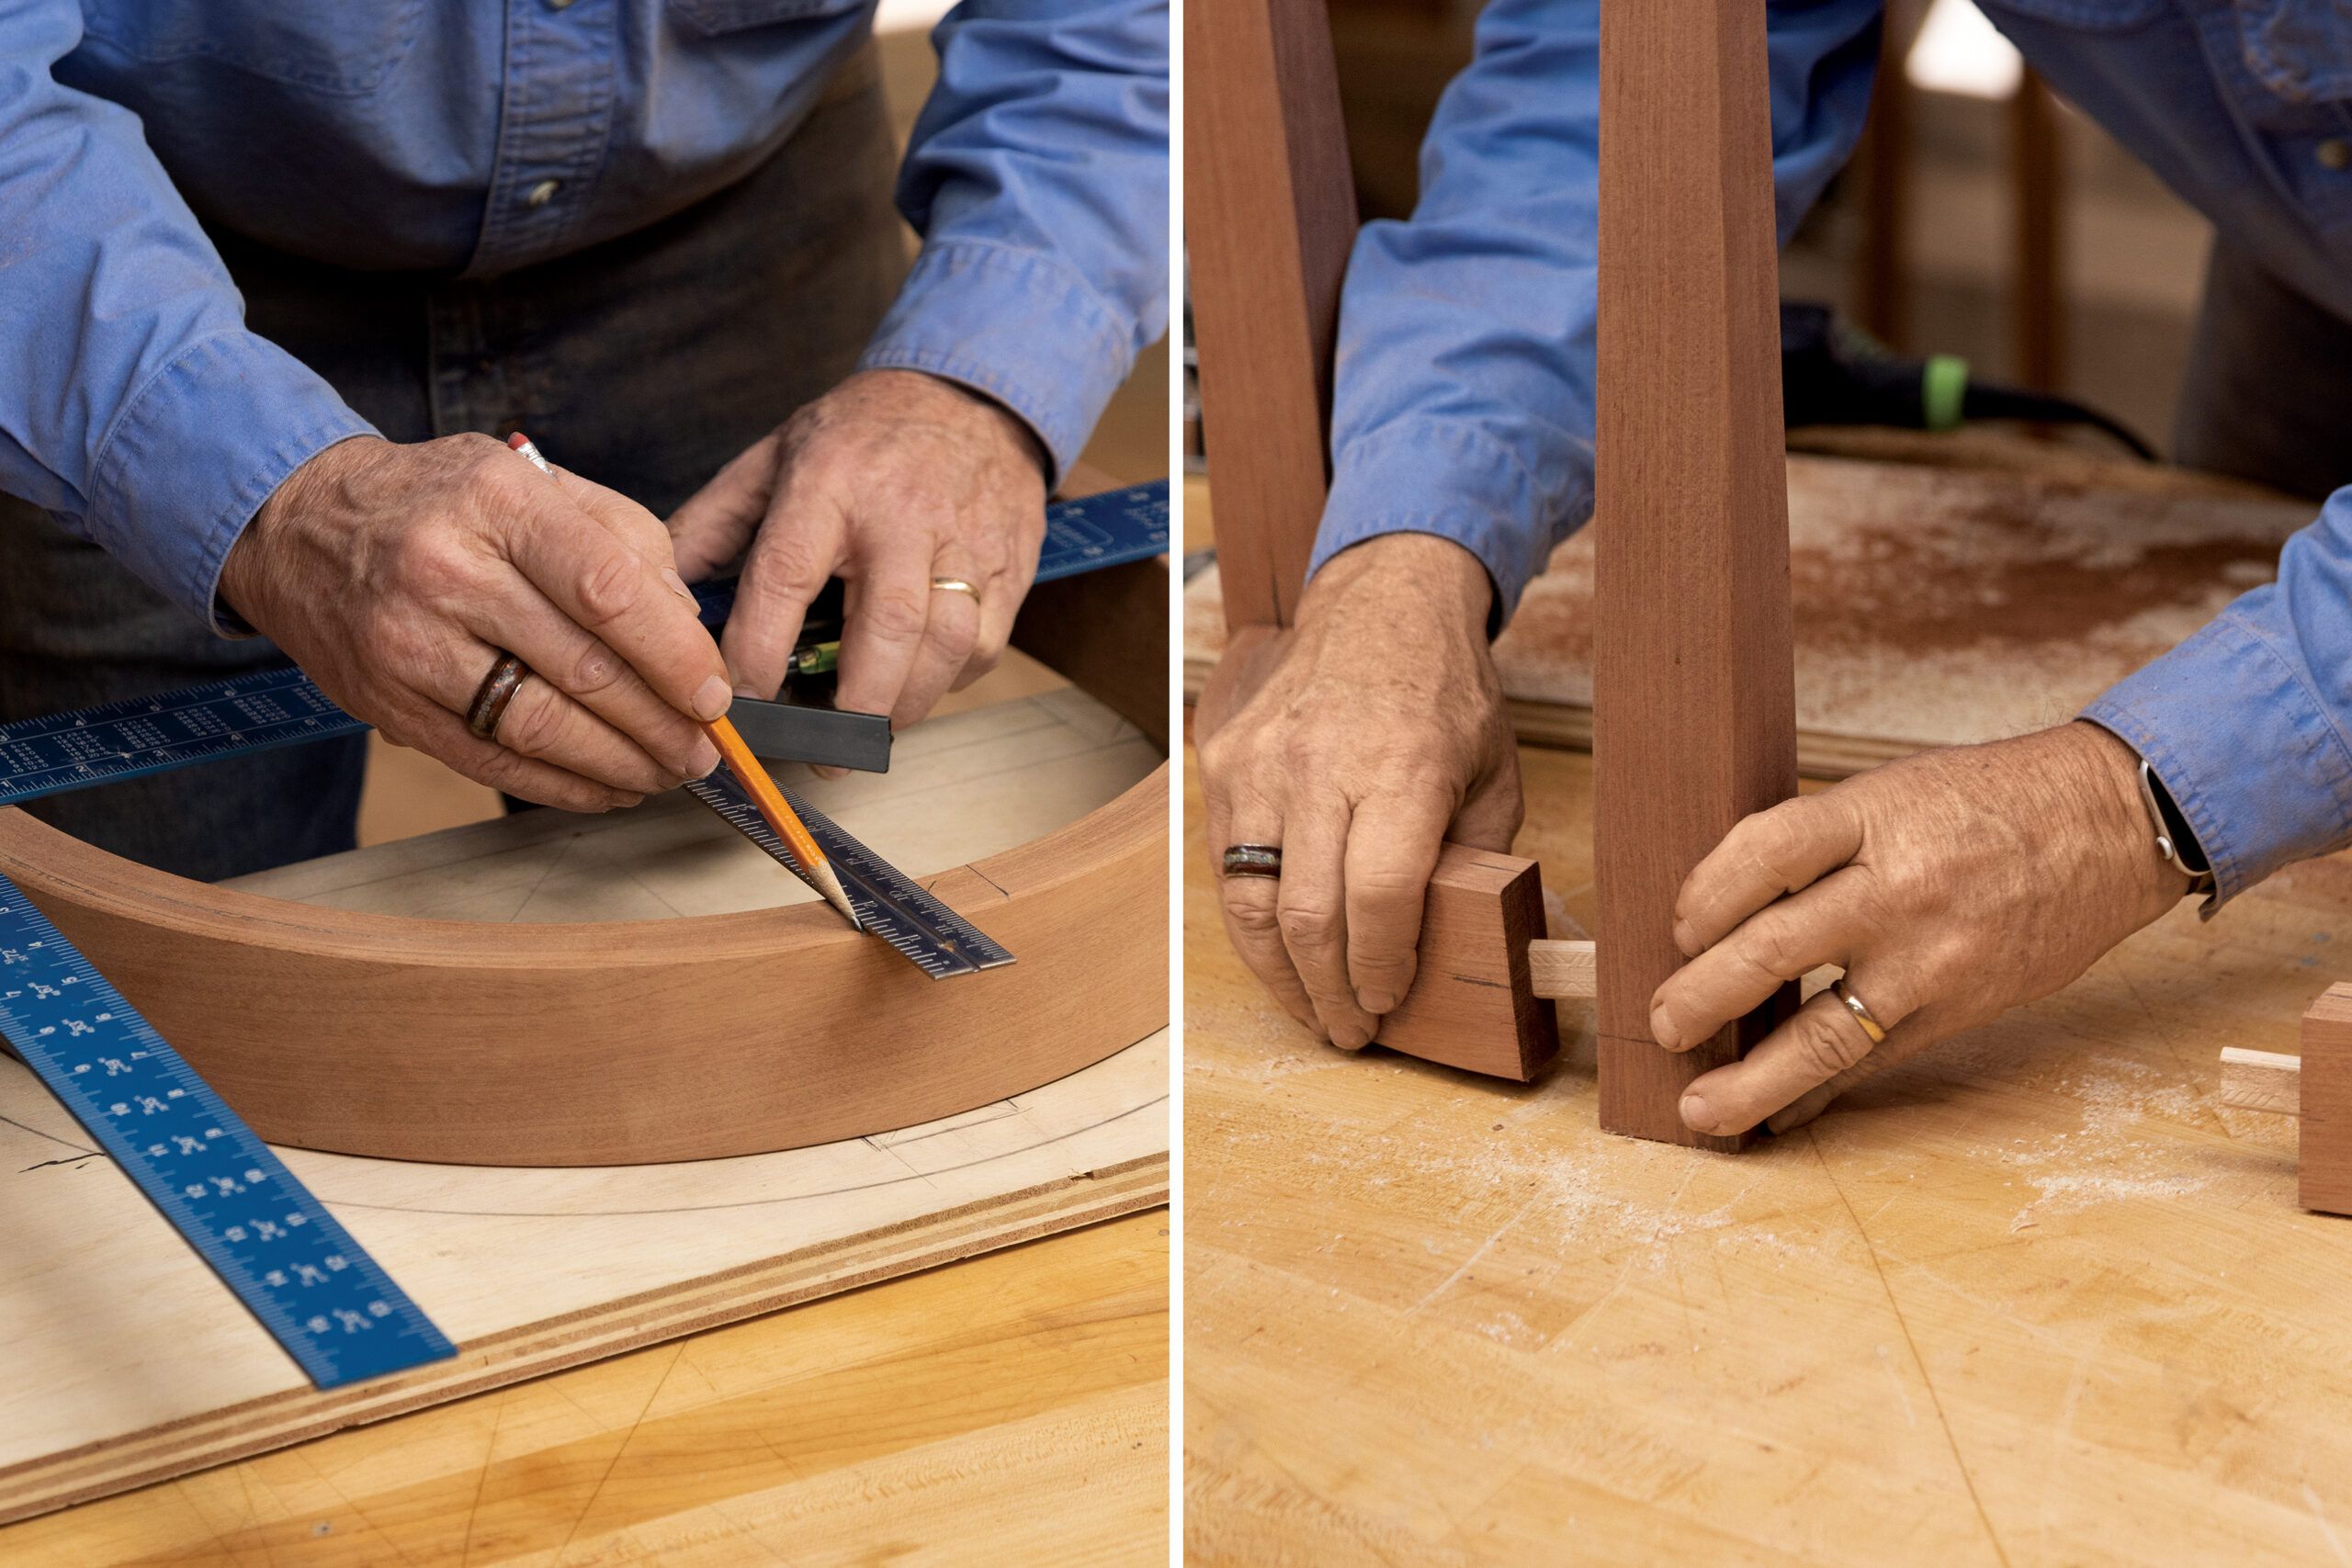
Step 9: Cut the apron parts
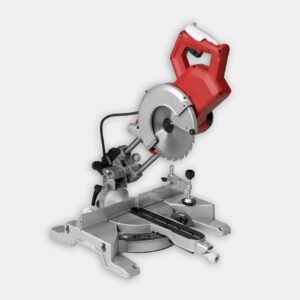
将围裙放在模板上,并使用框架和组合正方形来标记弯曲碎片的位置和角度。用斜切锯将碎片切成大小。
步骤10:准备细木工
在每个围裙上标记宽松的齿轮或销钉的位置;然后用模板和组合正方形在桌子腿上制作相应的标记。在每个标记处切下孔或钻孔。干燥碎片以检查是否适合;然后进行最后的打磨以去除锯痕。
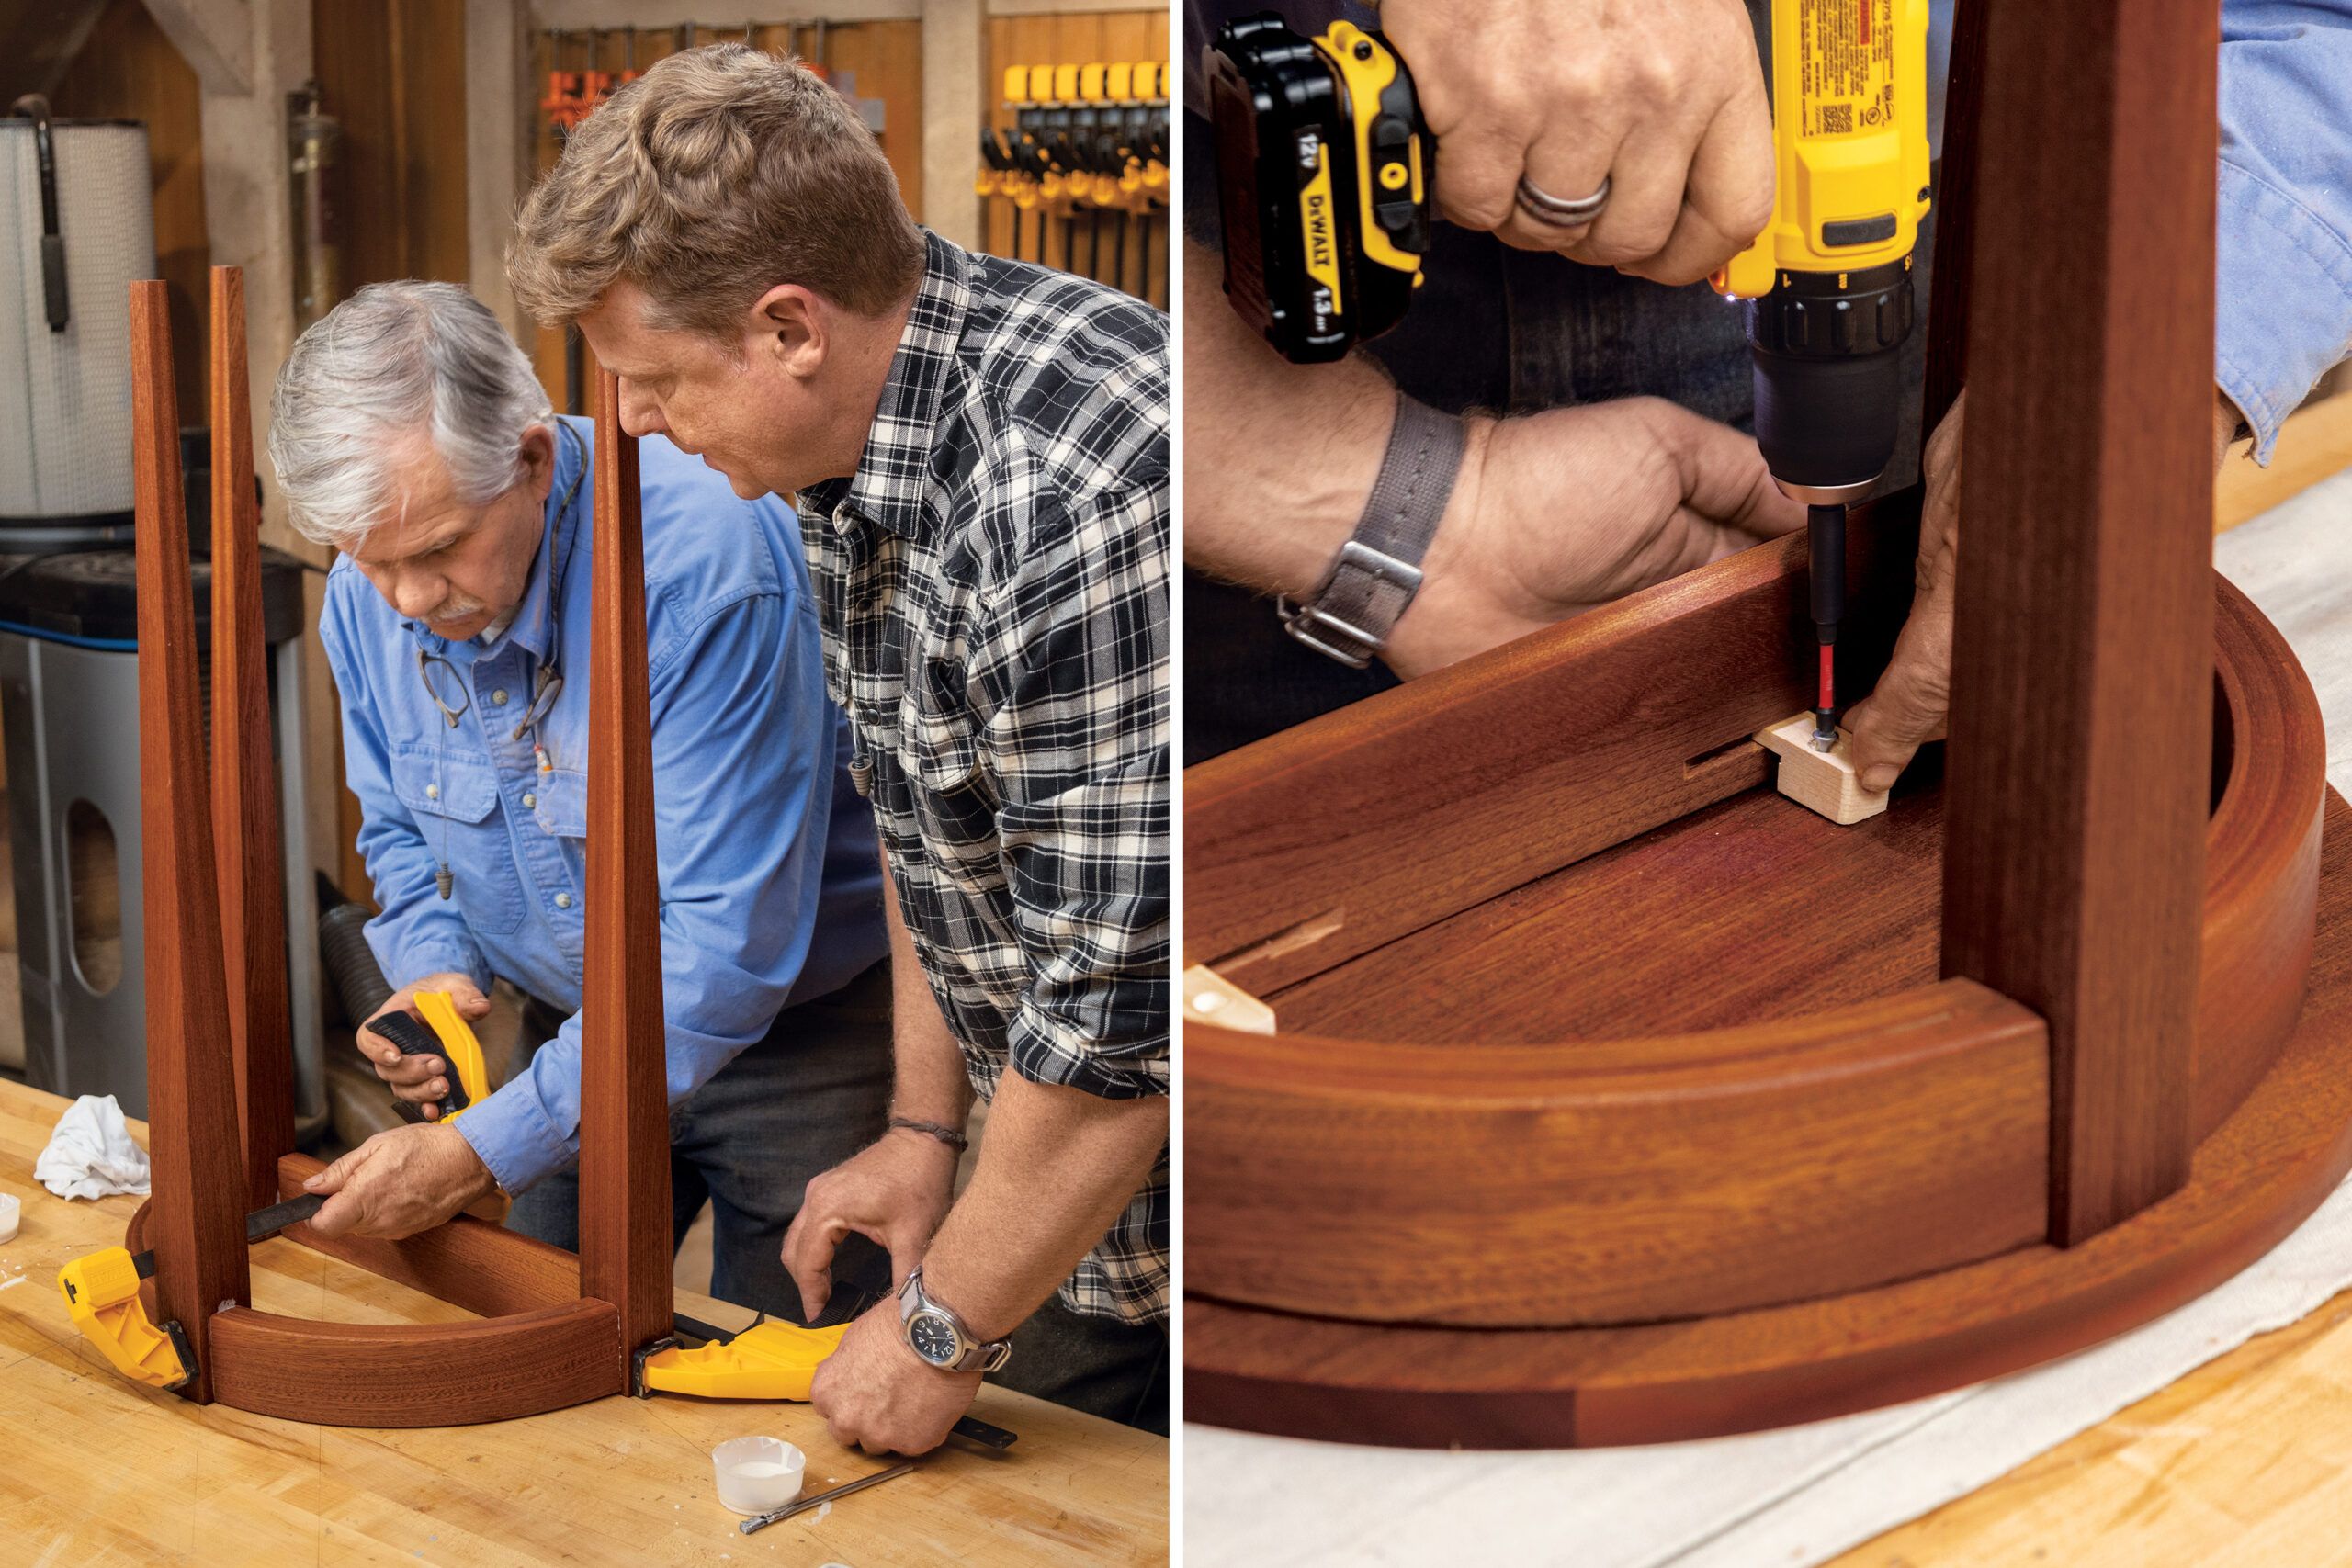
Step 11: Glue up the table base
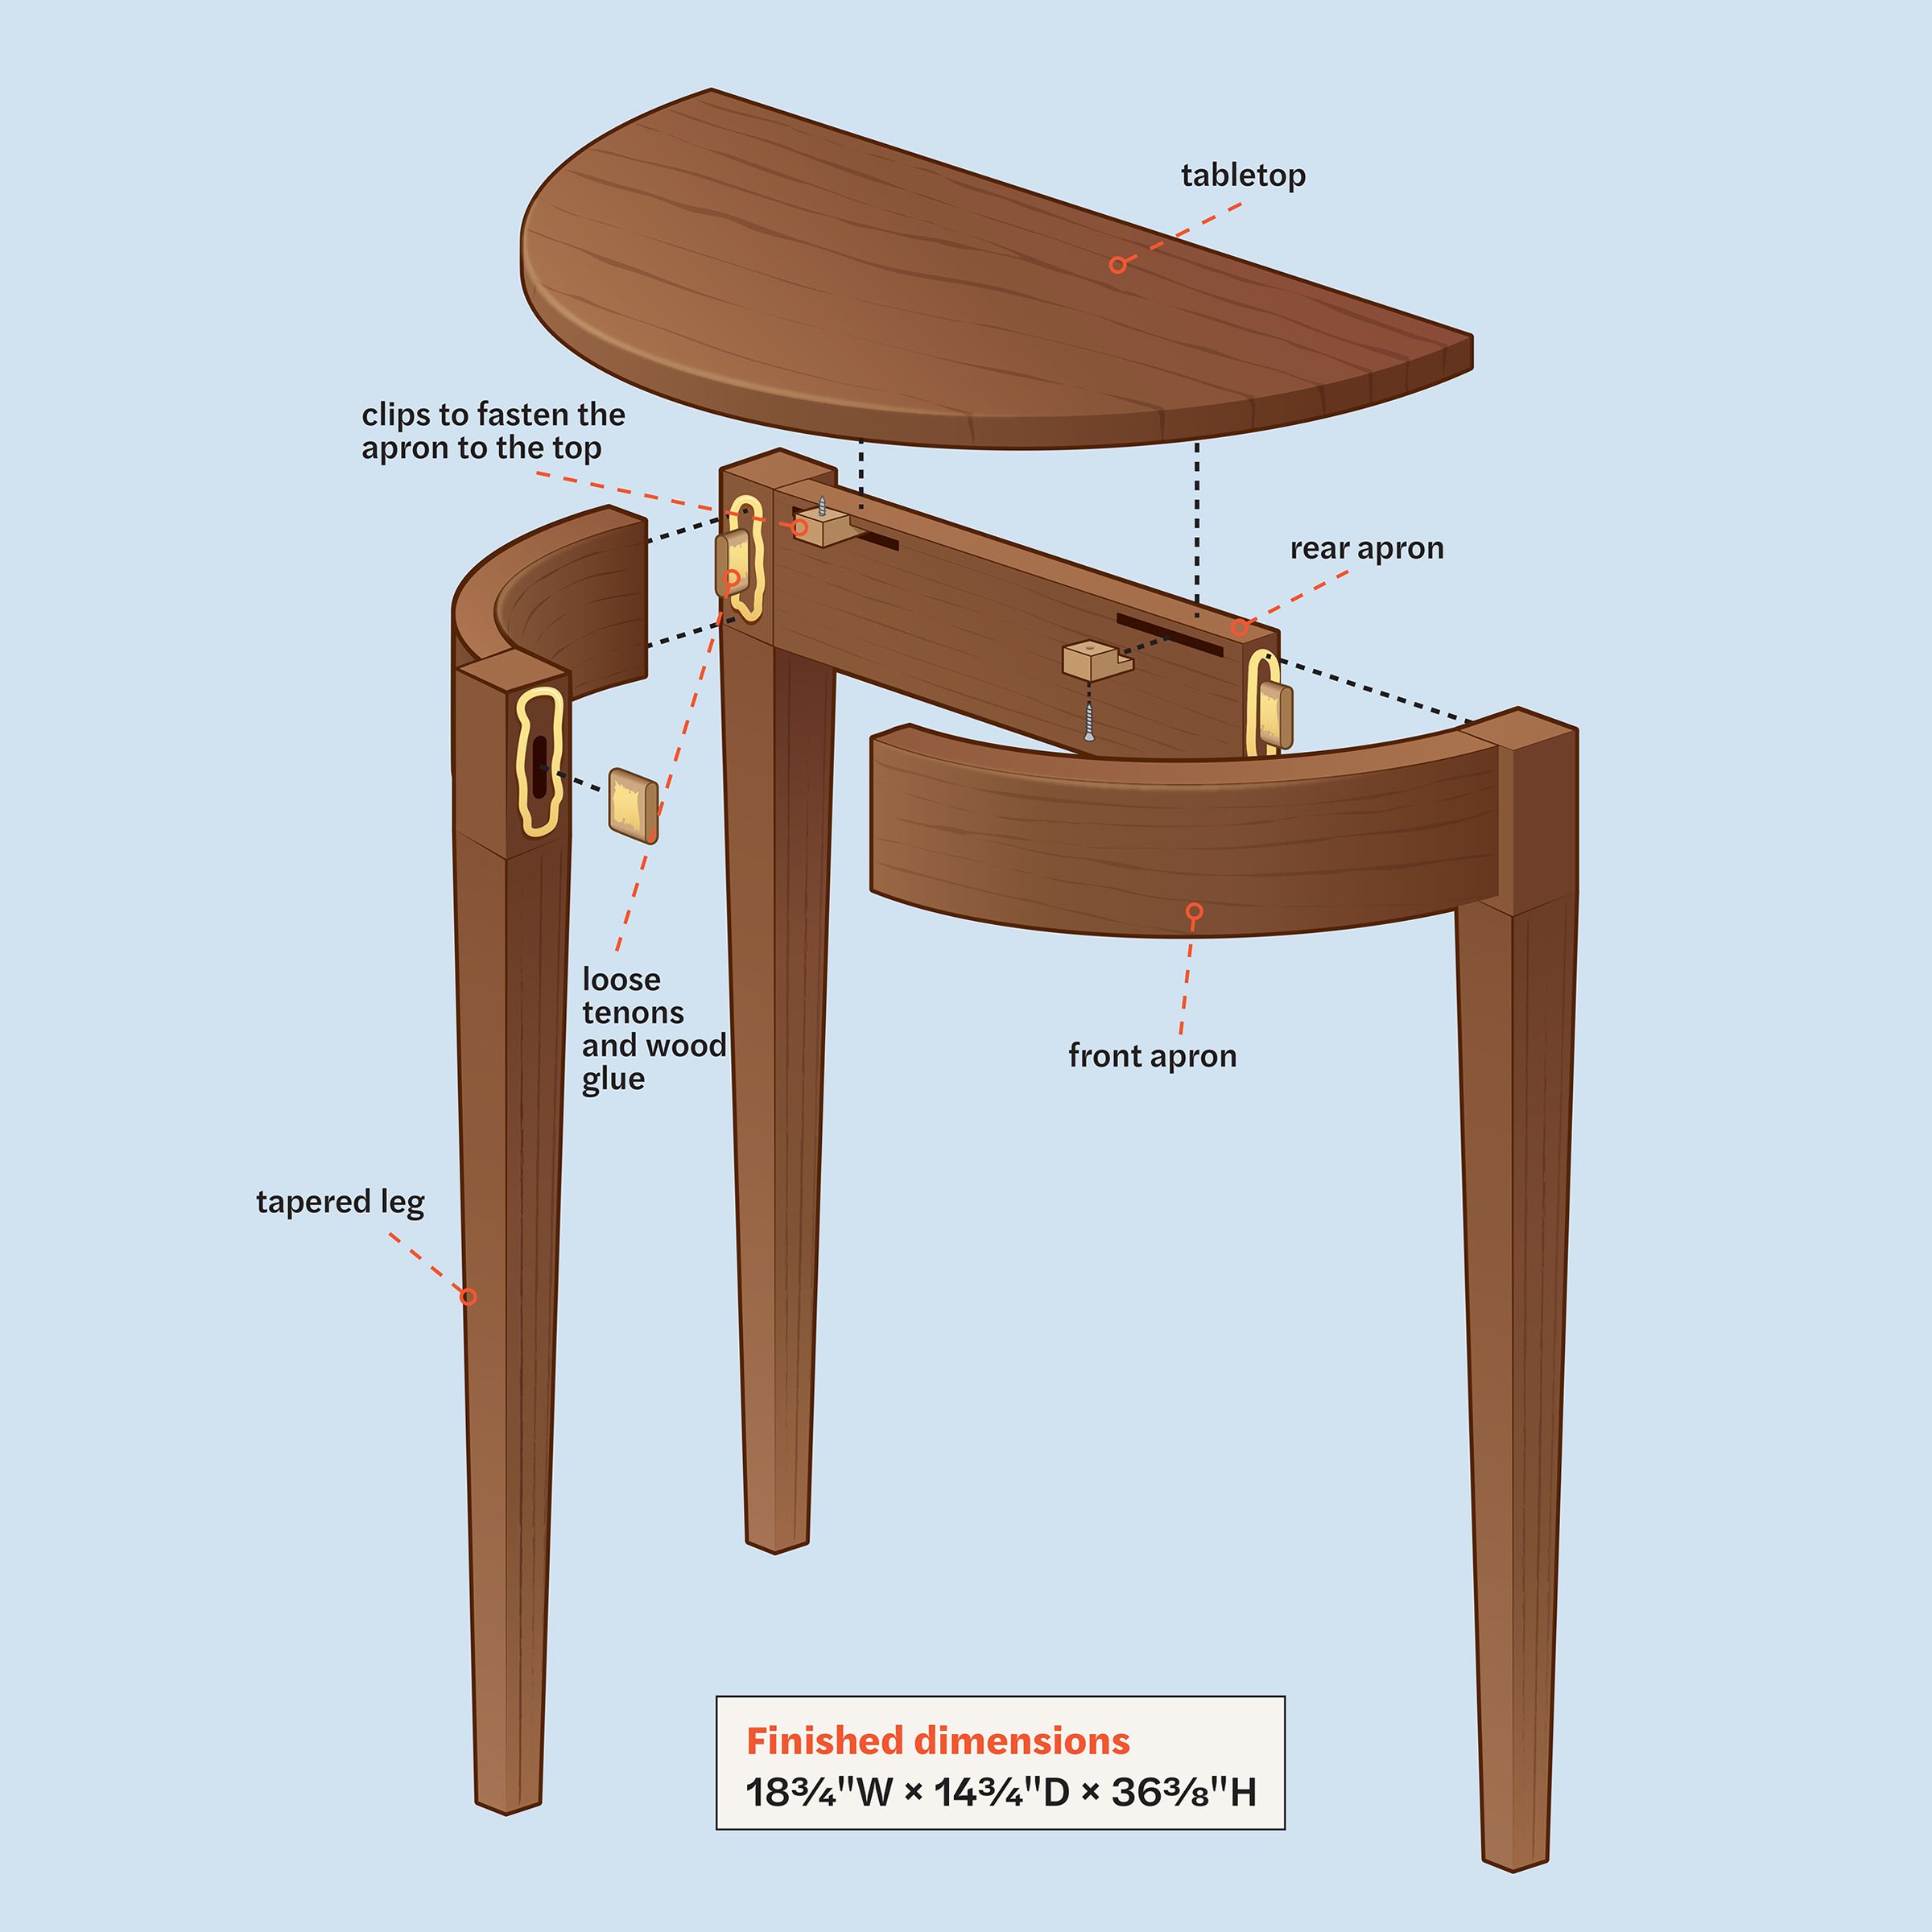
应用程序ly glue to the apron pieces and legs, and place a tenon or dowels in each joint. Loosely assemble all parts, and then use bar clamps or a band clamp to pull all the joints tight. Check the joints and adjust the clamps if needed. Use a damp rag to clean off any glue, and allow it to dry.
步骤12:连接桌面
使用切割路由器钻头在每个围裙的内侧切开一个凹槽。将桌子底座放在桌面的中心,腿冲洗到后边缘。将夹子插入凹槽中,然后将它们拧入顶部的底面。汤姆(Tom)用一层蜡完成了桌子,但是漆面或水性饰面也是合适的选择。
Pro Tip: Get an extra smooth finish
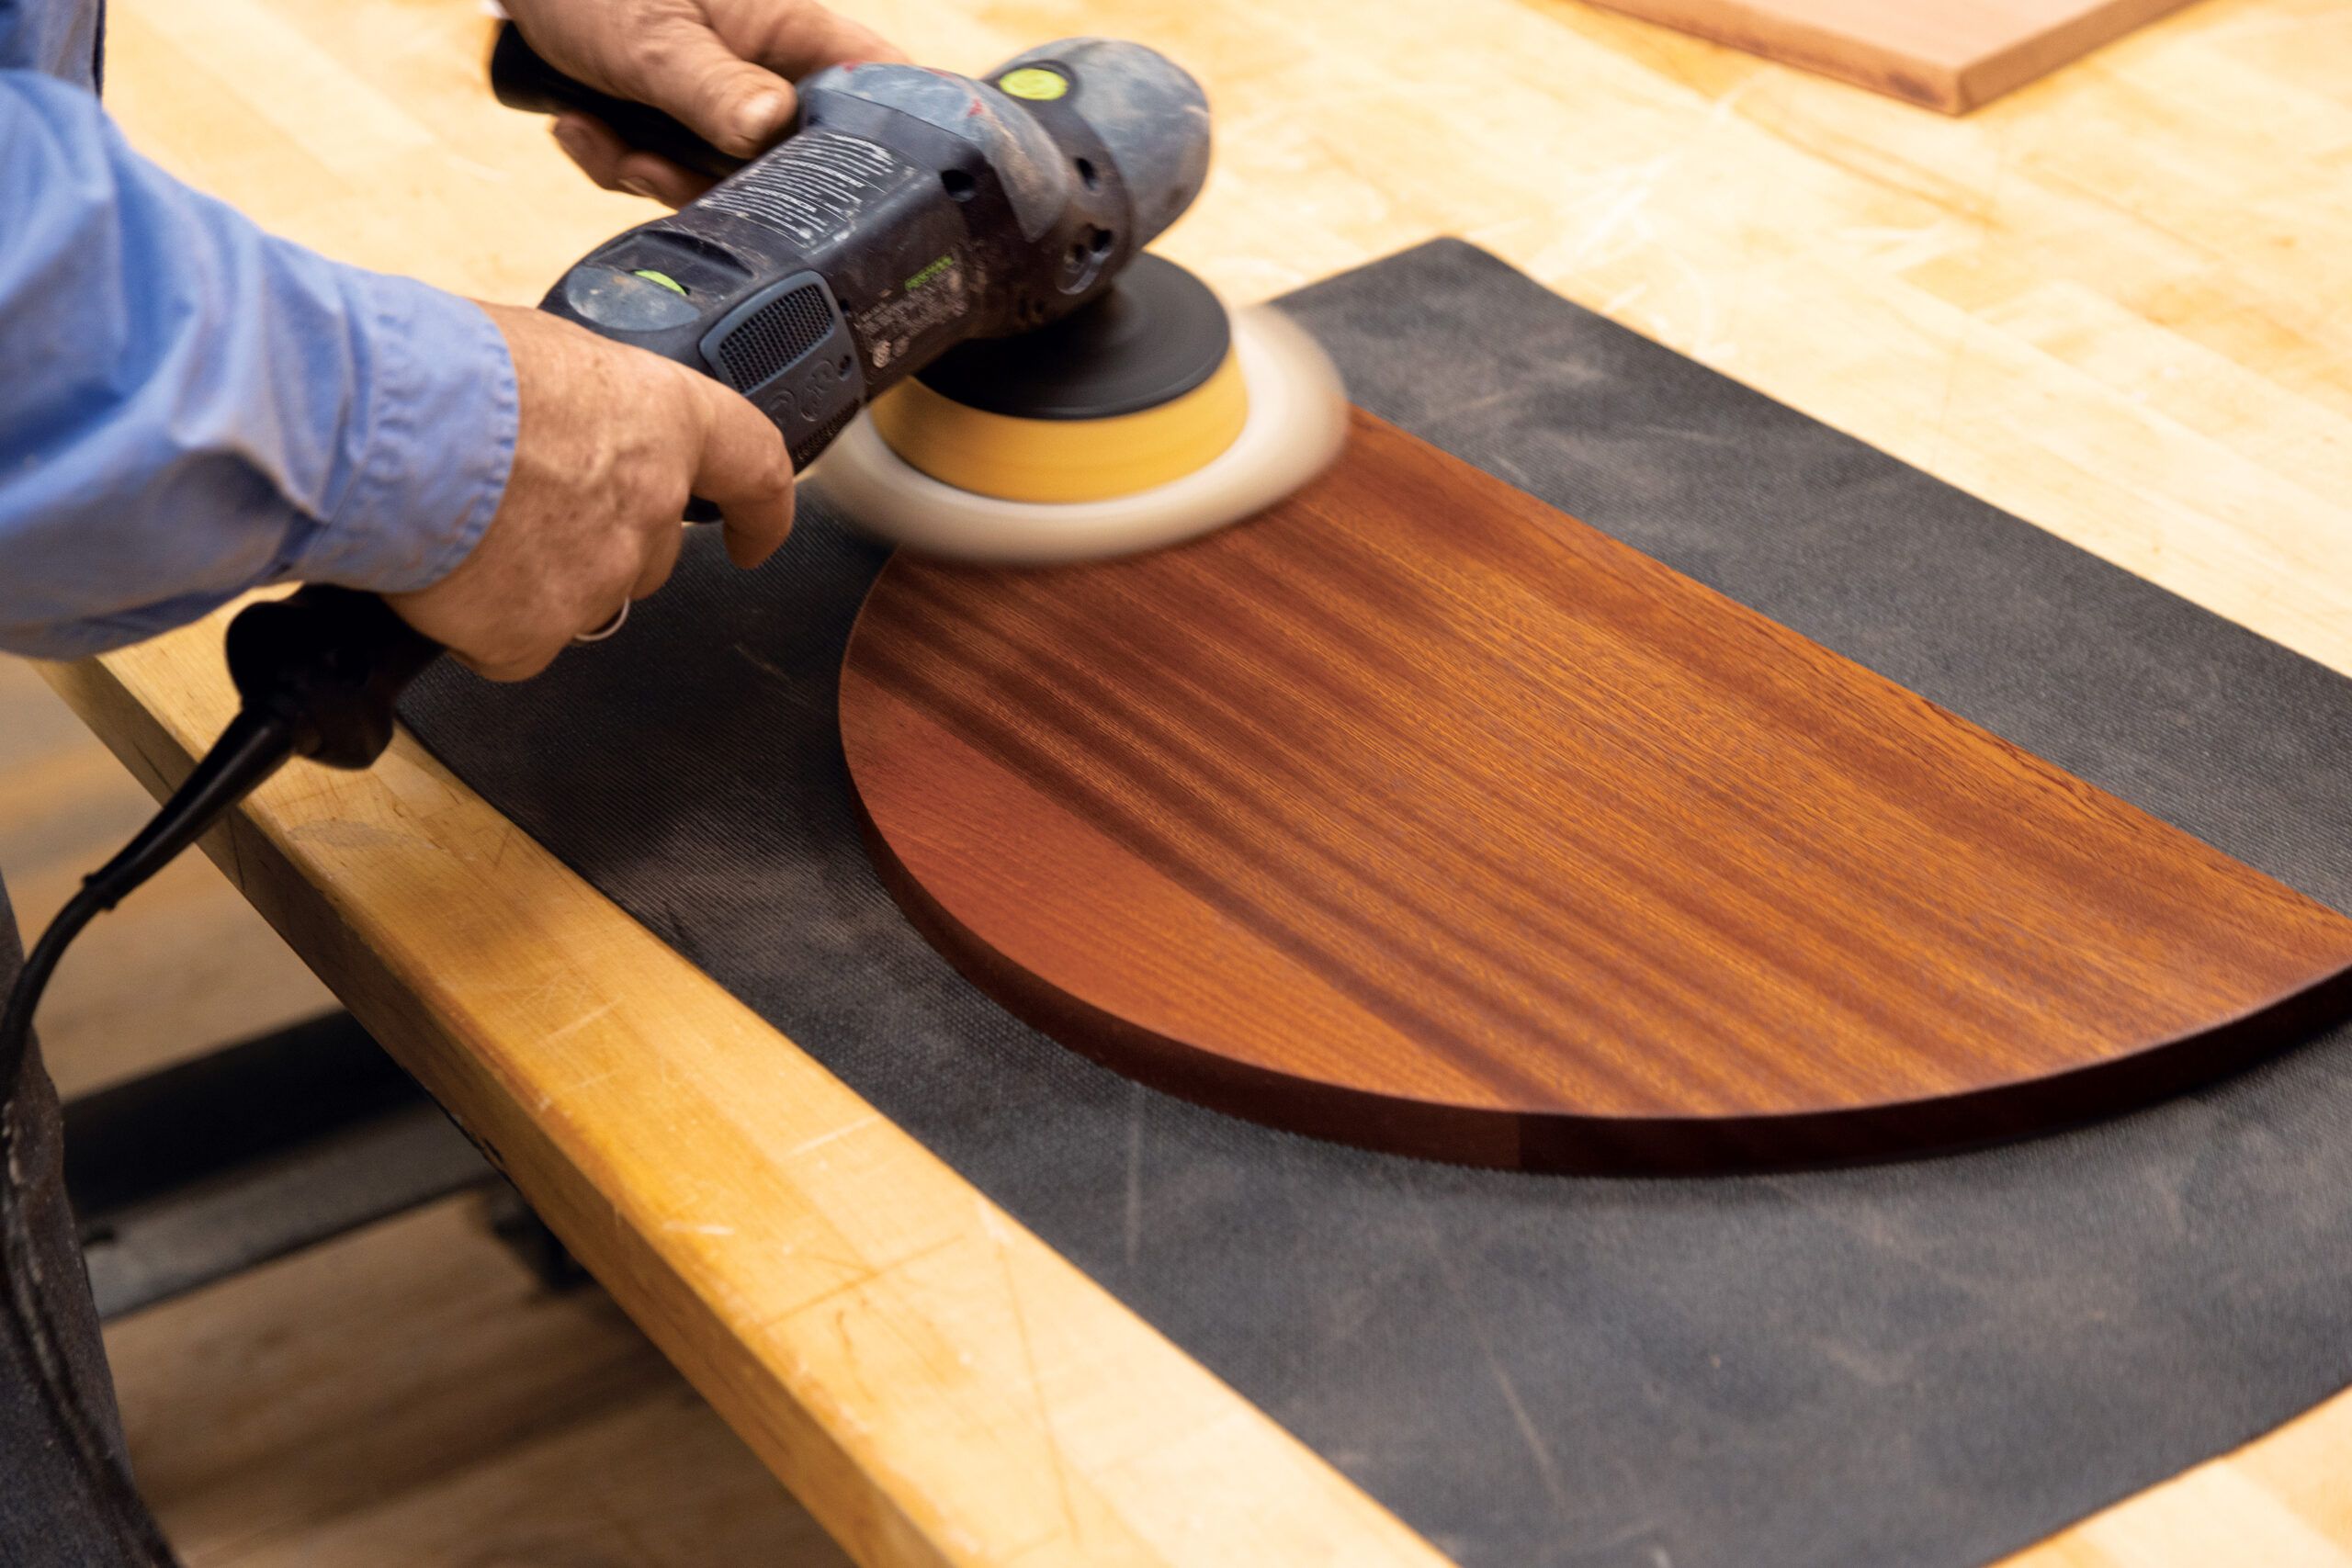
Before assembling the parts, Tom and Kevin sanded everything, then used a rag and buffing disc to apply a coat of sanding paste (ackswoodpaste.com), a fine abrasive used by wood turners. The paste smooths the wood, fills the grain, and adds a bit of color. The paste also helps to prevent glue from staining the wood during assembly.
Materials
- 曲线夹具
- Taper jig
- 插槽位
- 报废胶合板
- Glue
- Hardwood stock(1×12-inch board, 3×4-inch board, several 3×3-inch boards)
- Sanding paste
- Wood screws


